
Elsie de Wolfe is America’s first professional interior designer. However, her famous statement from the 1920s could also be the story of MY life. For years (since I’ve been getting my own apartments ready to move into, to be exact), I’ve been furnishing my LIVING SPACES and, after endless furniture research, always come to the conclusion that the perfect piece of furniture for me doesn’t exist. Well, there is. Sometimes there is the perfect piece of furniture – but then it costs a fortune.
About the BEAUTY and BURDEN of a DIY Passion
So for years I’ve been working hard to create the best furniture myself, and become the queen of Do-It-Yourself. Sometimes I wear this crown annoyed, sometimes with pride. Often I get carried away with my plans and start too many things at once – and so projects fall by the wayside. My Secession commode remained there – to be honest – for years.
THANK god there’s LOCKDOWNS *IronyOff*
For years we have lived with lockdowns, sometimes light sometimes hard. In truth, the pandemic still offers plenty of time to devote to projects that have fallen behind. And so my Vienna Secession inspired dresser upcycling FINALLY came to its final episode the other day. So here is my IKEA dresser upcycling tutorial – for you to easily copy and paste.
What you NEED: INSPIRATION
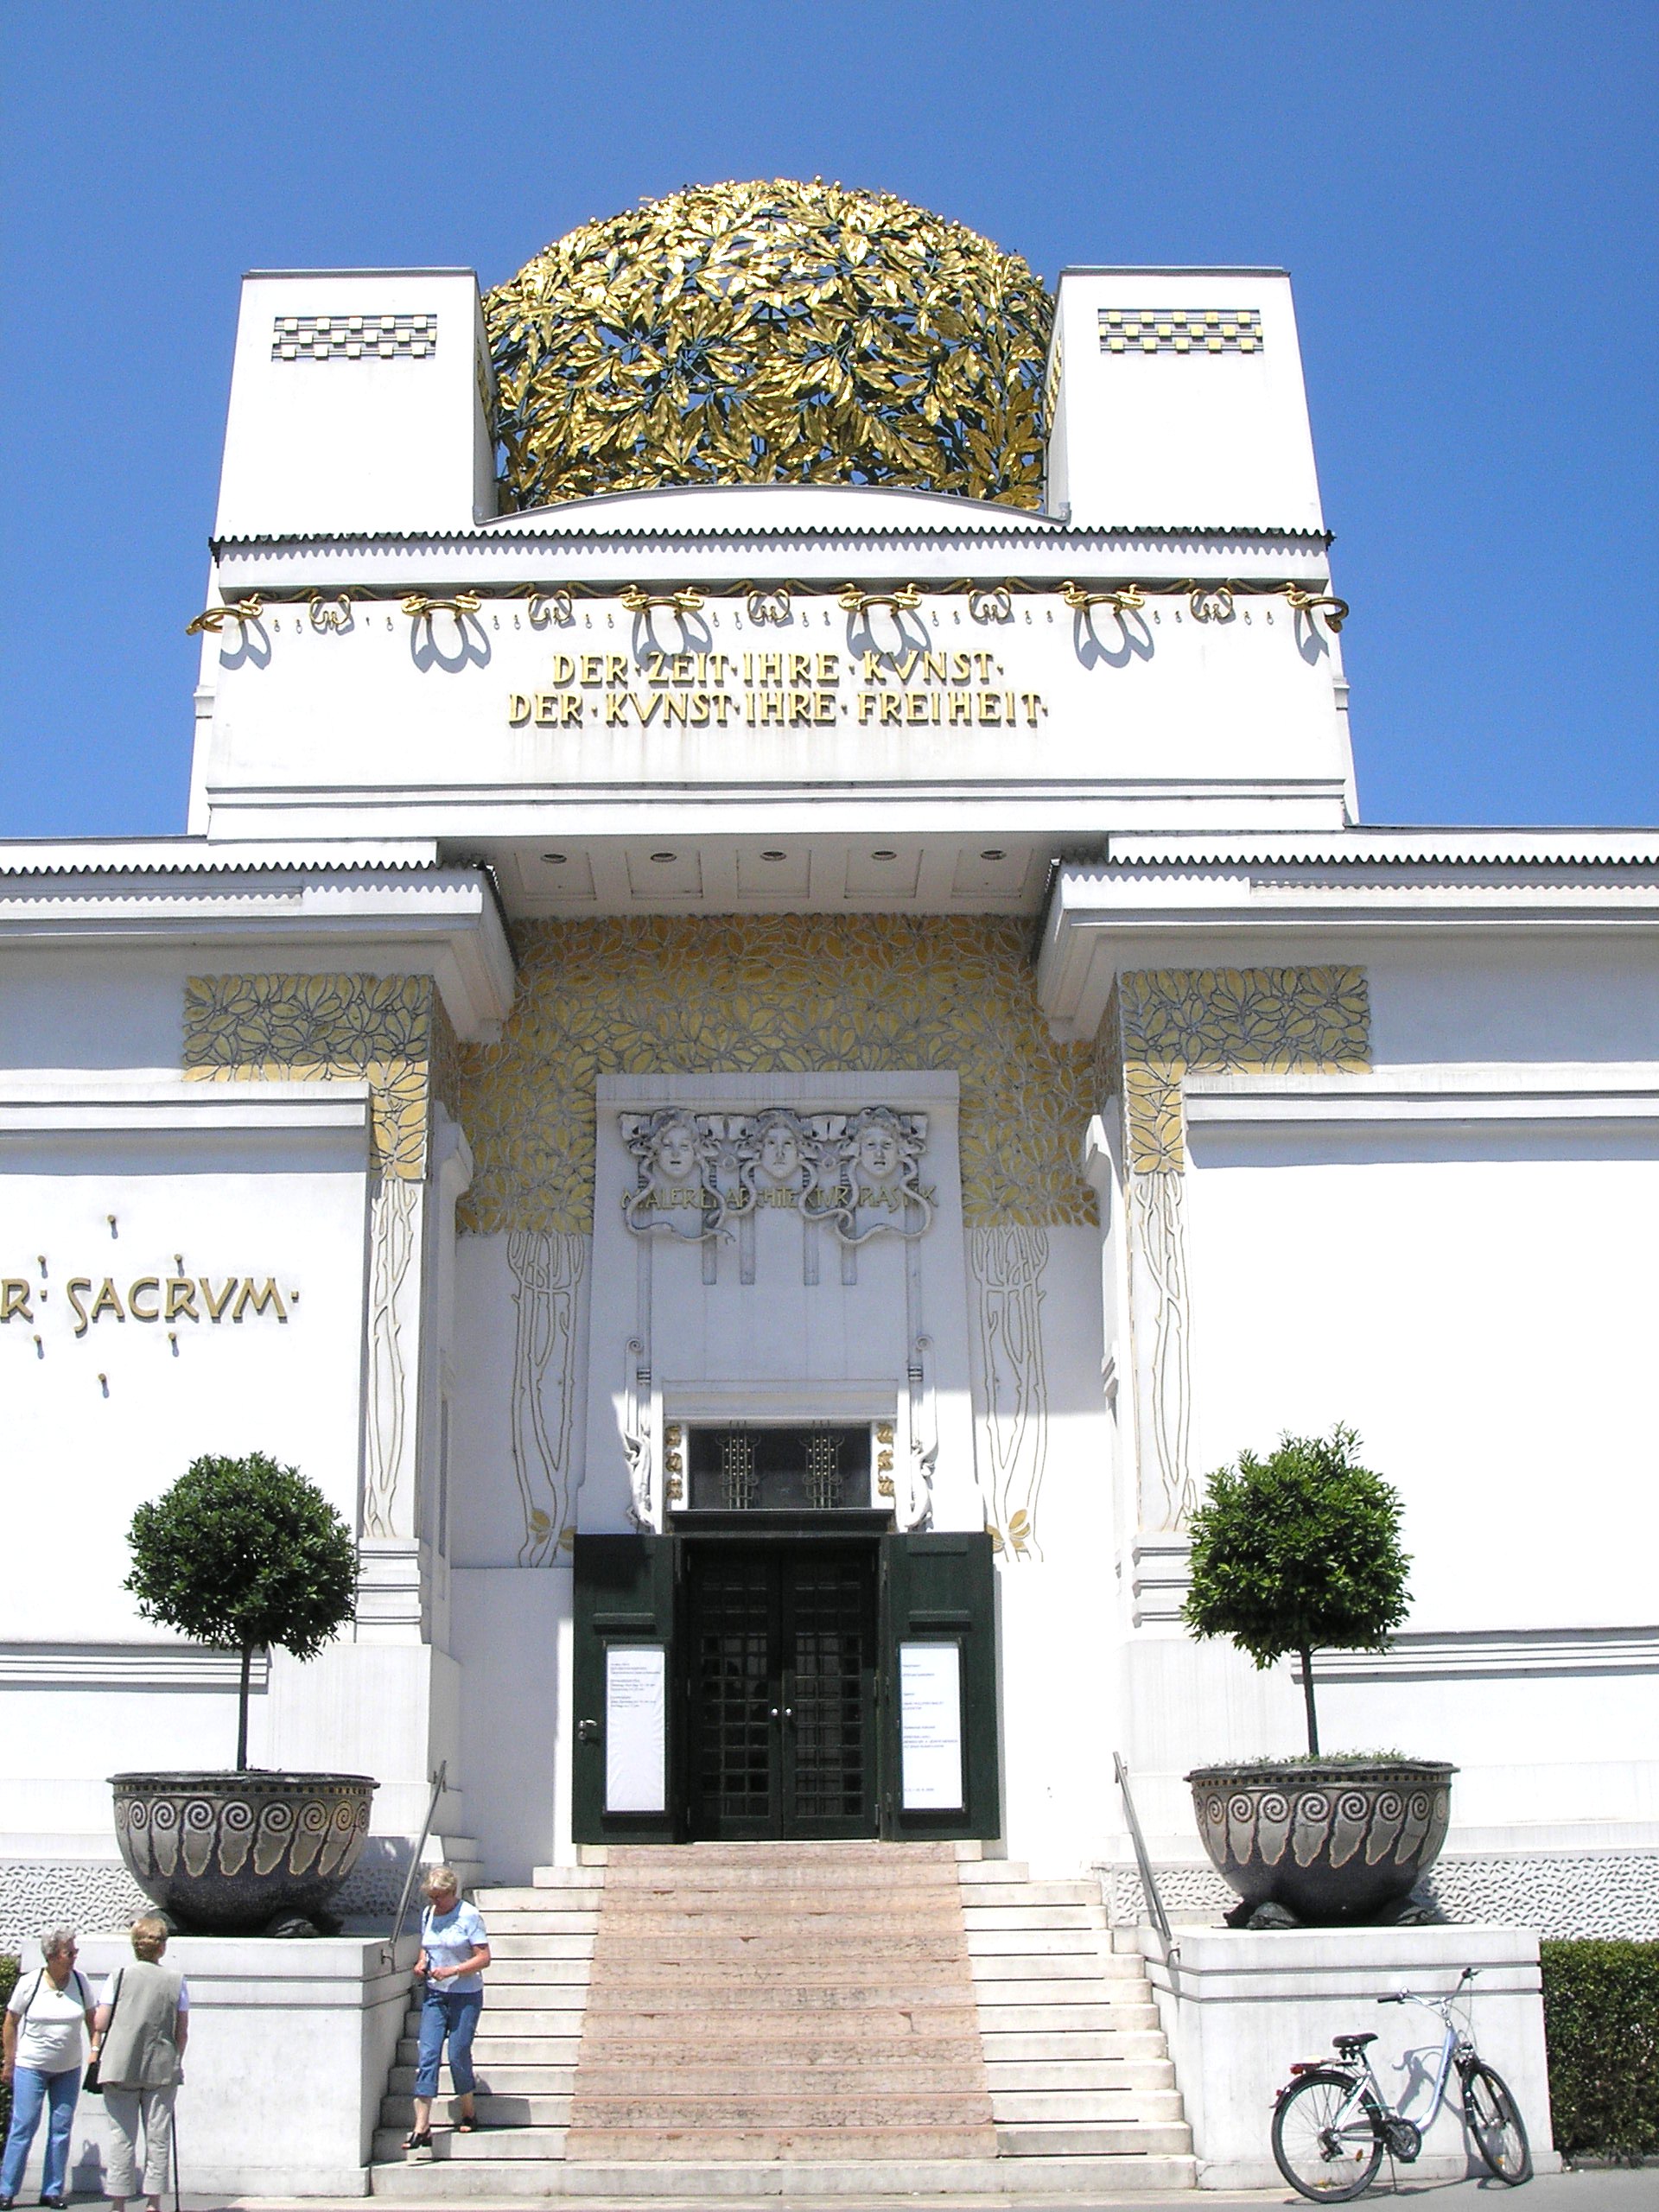
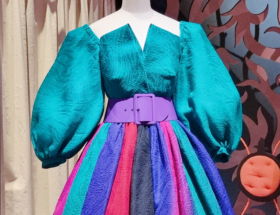
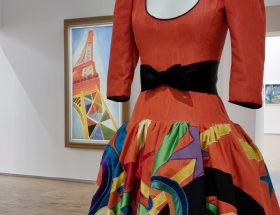
We all have enough IKEA furniture, right? It is cheap, practical and sometimes beautiful. But most of the time it is boring. There’s plenty of inspiration to “hack” IKEA on Pinterest. But even there, there is largely blandness when it comes to artsyness. So one day I looked around – in good old Vienna – and found what I was looking for at the Vienna Secession. And let’s be honest: Where else is ornament as chic as in Vienna around 1900?
What you need then: A CONCEPT and lots of GOLD
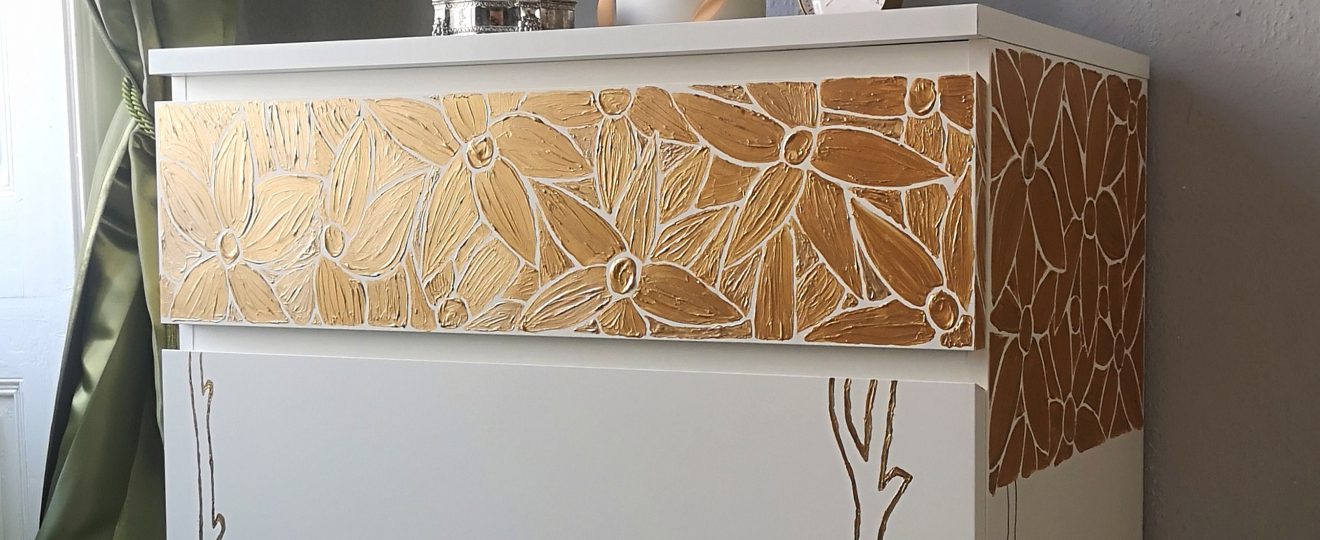
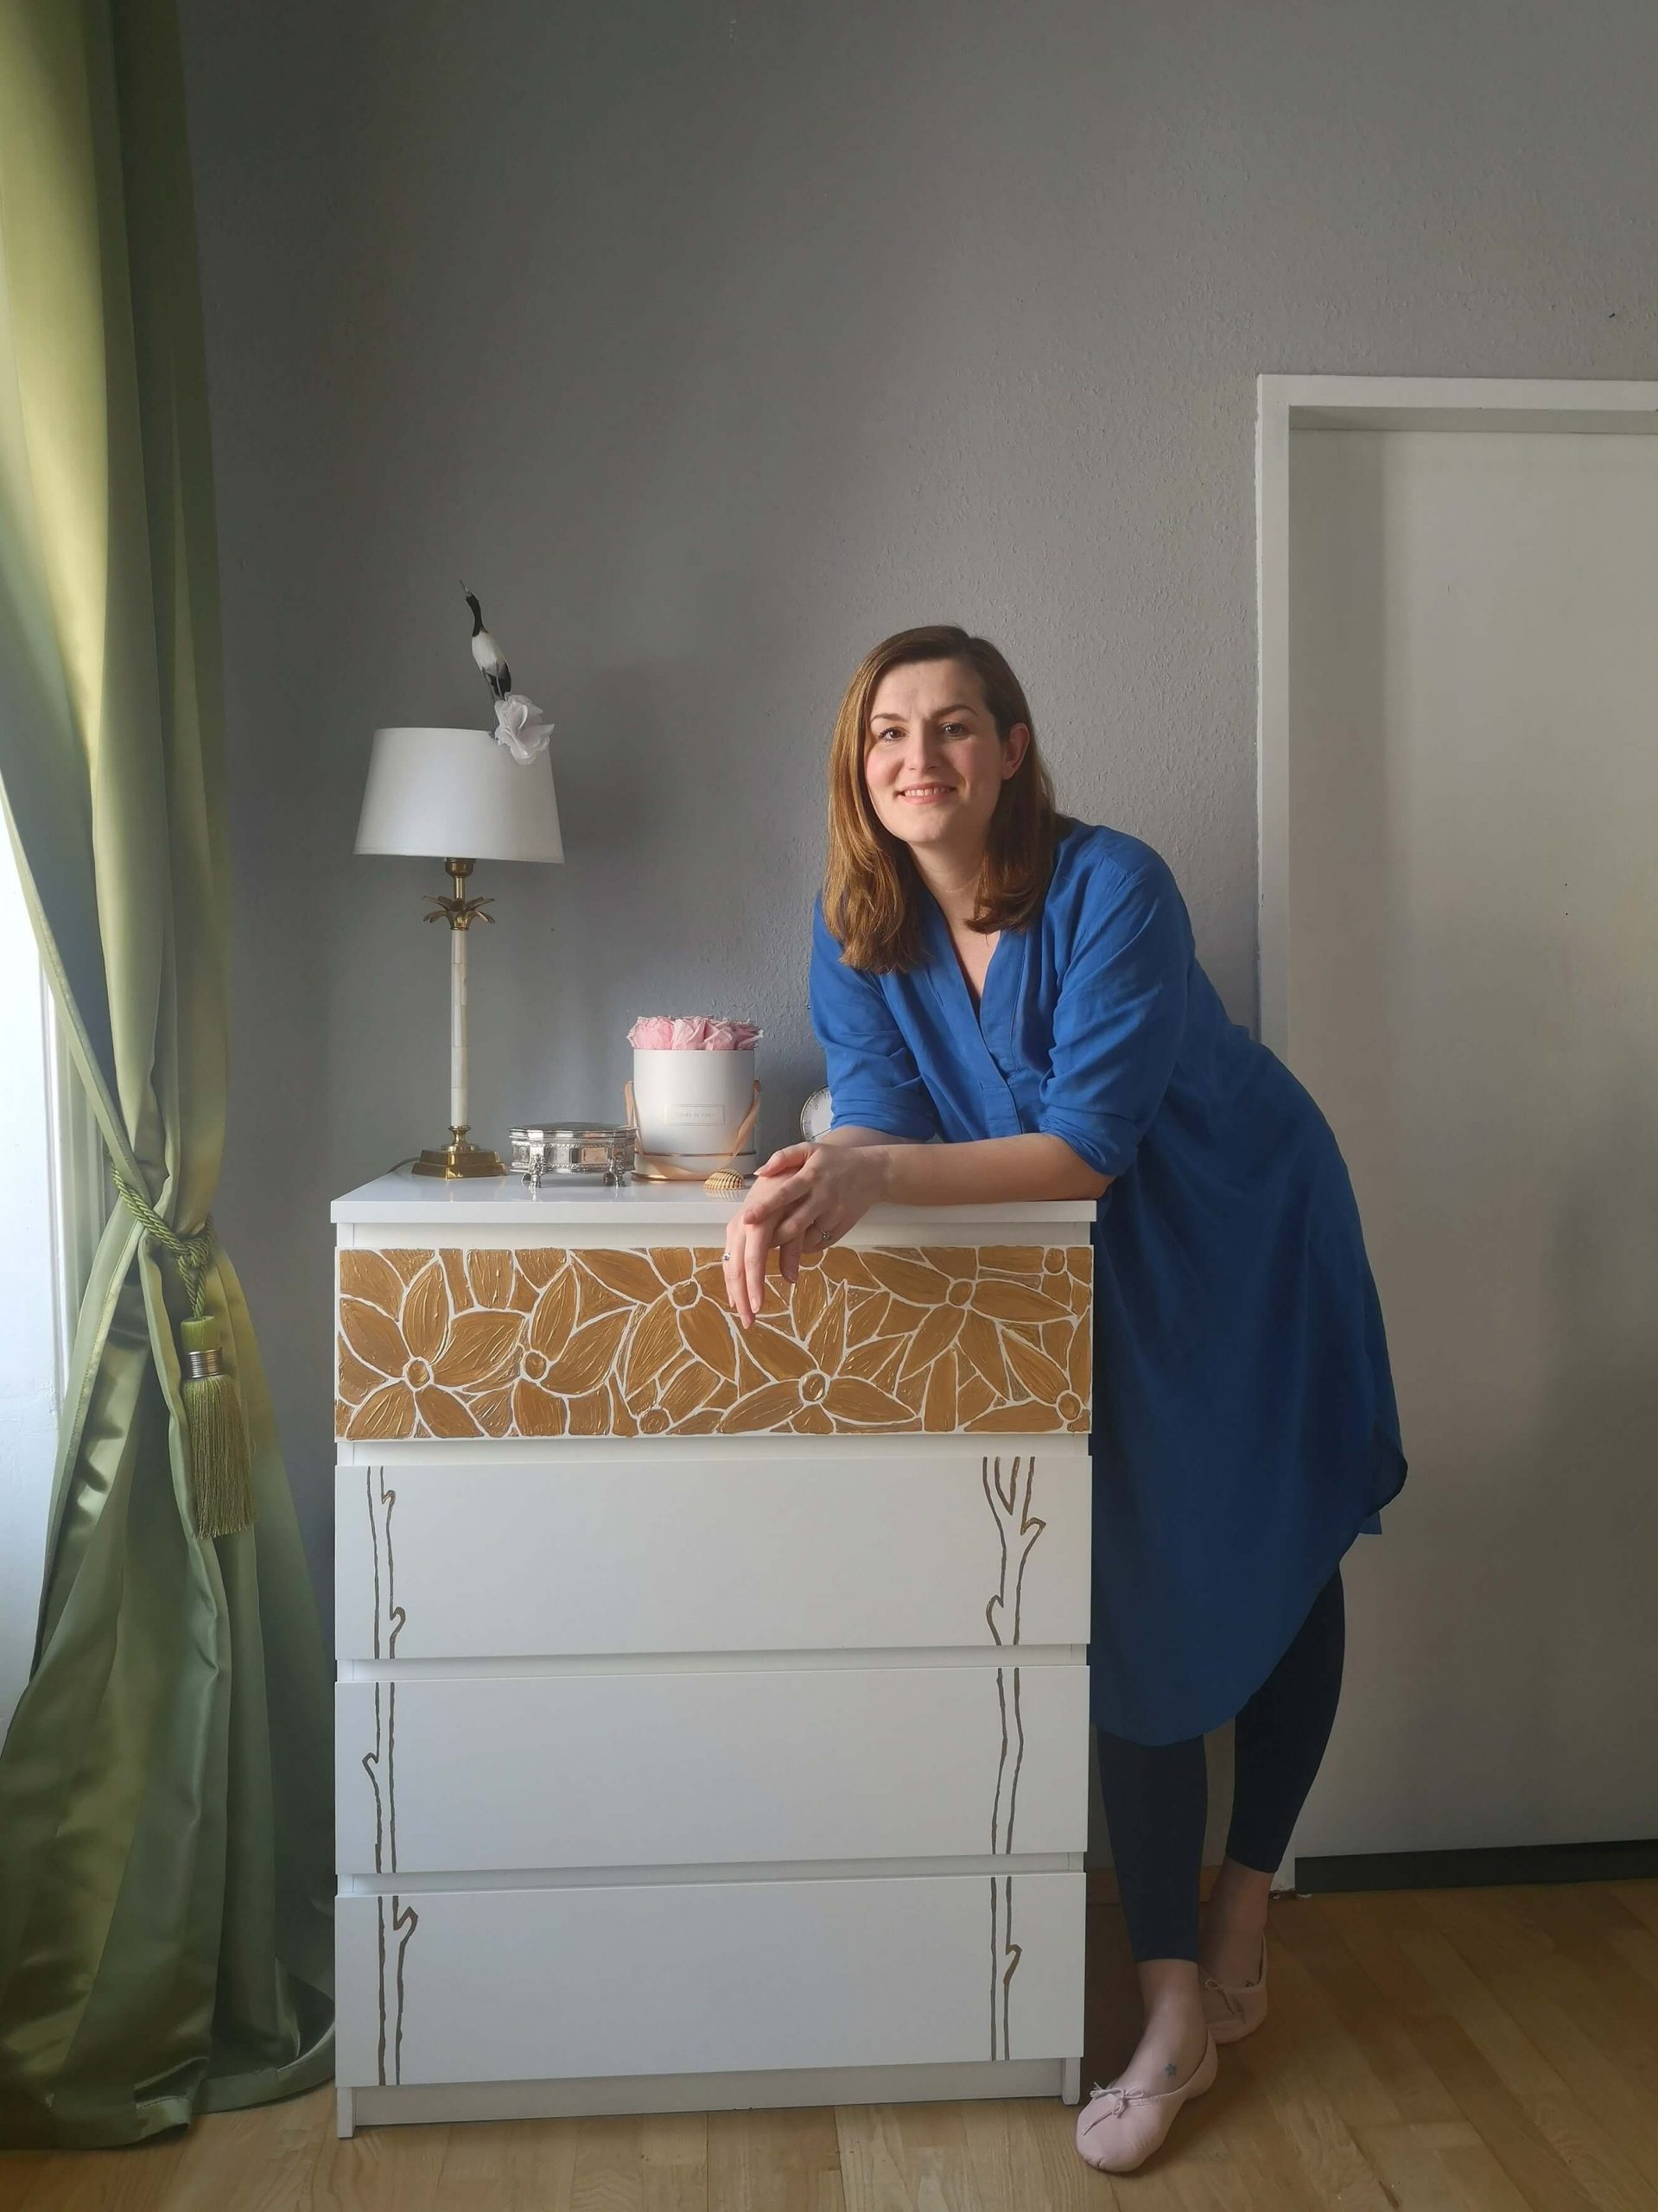
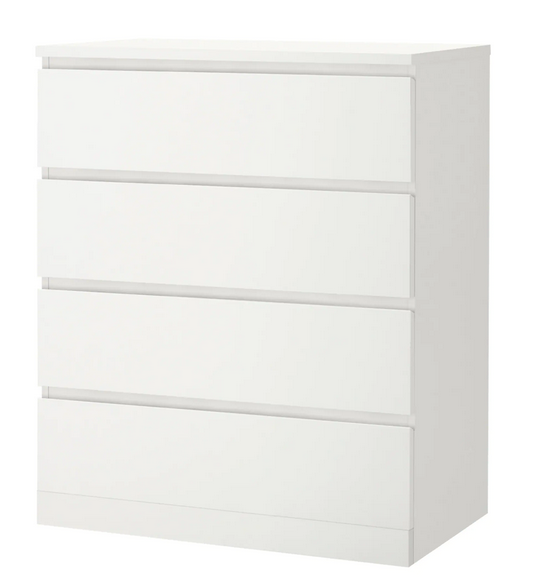
My MALM dresser from IKEA was already in our home. Suddenly, however, it provided the perfect surface for Secession made at home.
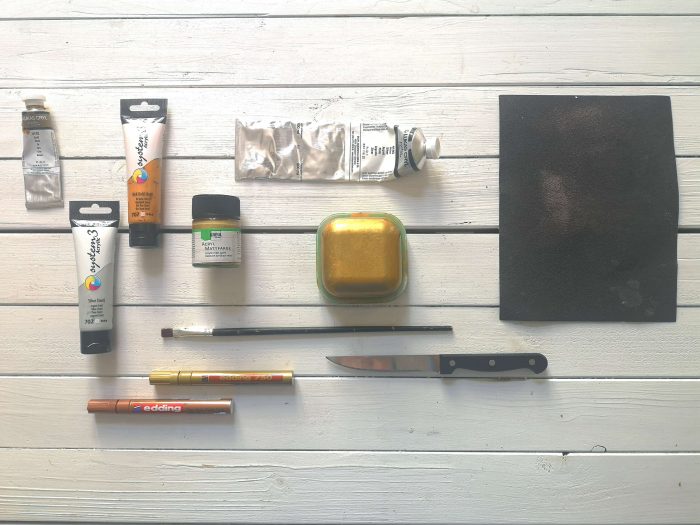
What you need:
. MALM dresser (all models possible, I have the model with four drawers)
. Acrylic paints – in various shades of gold & silver
. Hair brush for acrylic (5mm to 1cm width)
. Mixing vessel
. Gold marker
. Fine sandpaper
. Ruler & Pencil
. Tip nail file, knife or toothpick
First the HOMEWORK – then the FUN
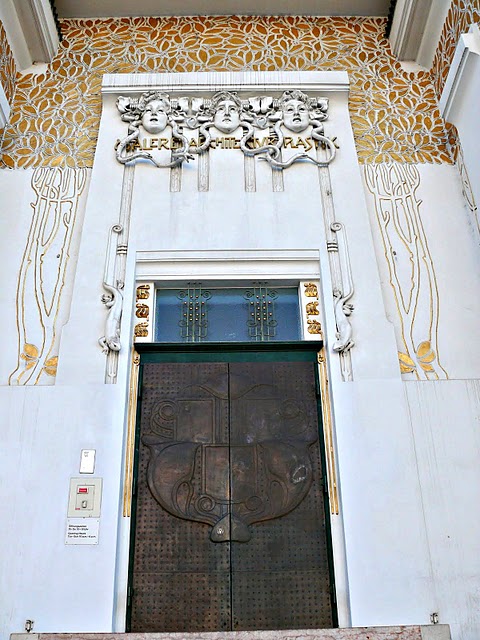
In order to do justice to the then and now modern aesthetics of the Secession façade, you first need to divide up the surface. Armed with a ruler and pencil, first determine the lateral areas and mark them out. Then you lightly sand the selected areas with fine sandpaper to give the acrylic paint a better grip.
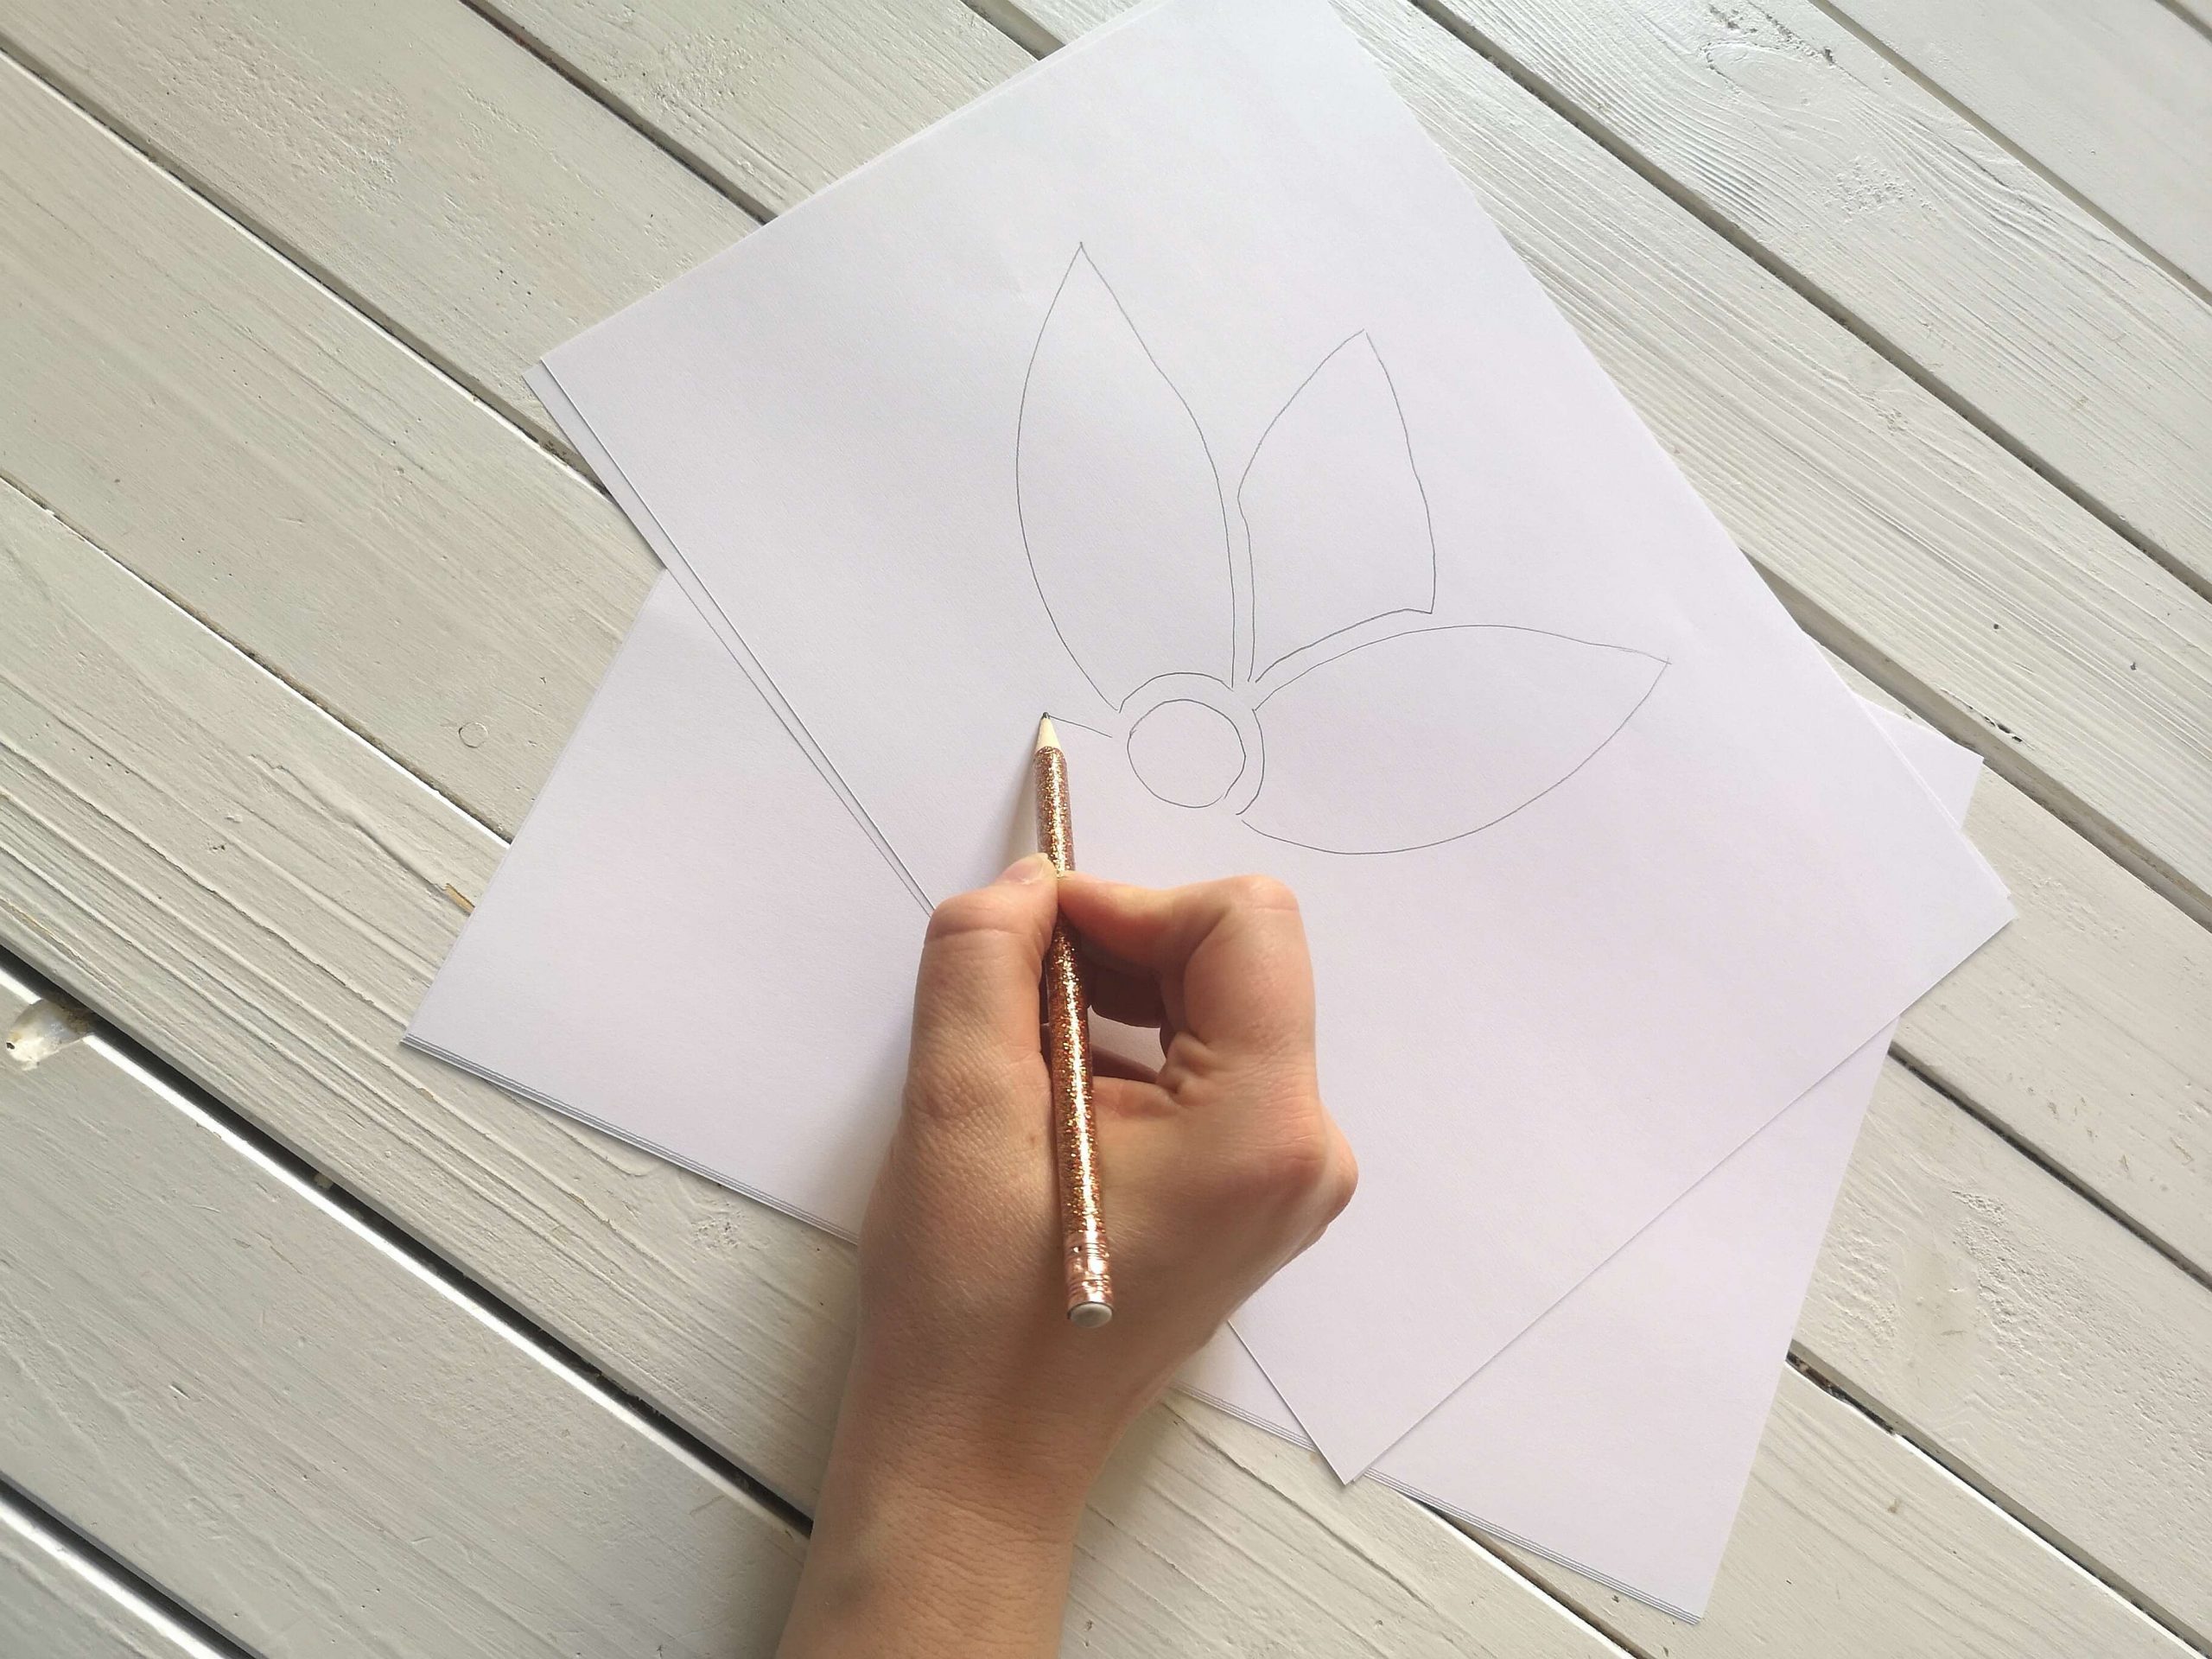
The next step is to practice: we don’t want to be too strict with the shape – but we do want to get the Secession flowers right. So you have to practice the petals first – on paper, mind you. Then you dare to sketch the leaves on one side of the dresser. And don’t worry: once you’ve done all that, you can try the rest freehand.
A proper GOLD RUSH
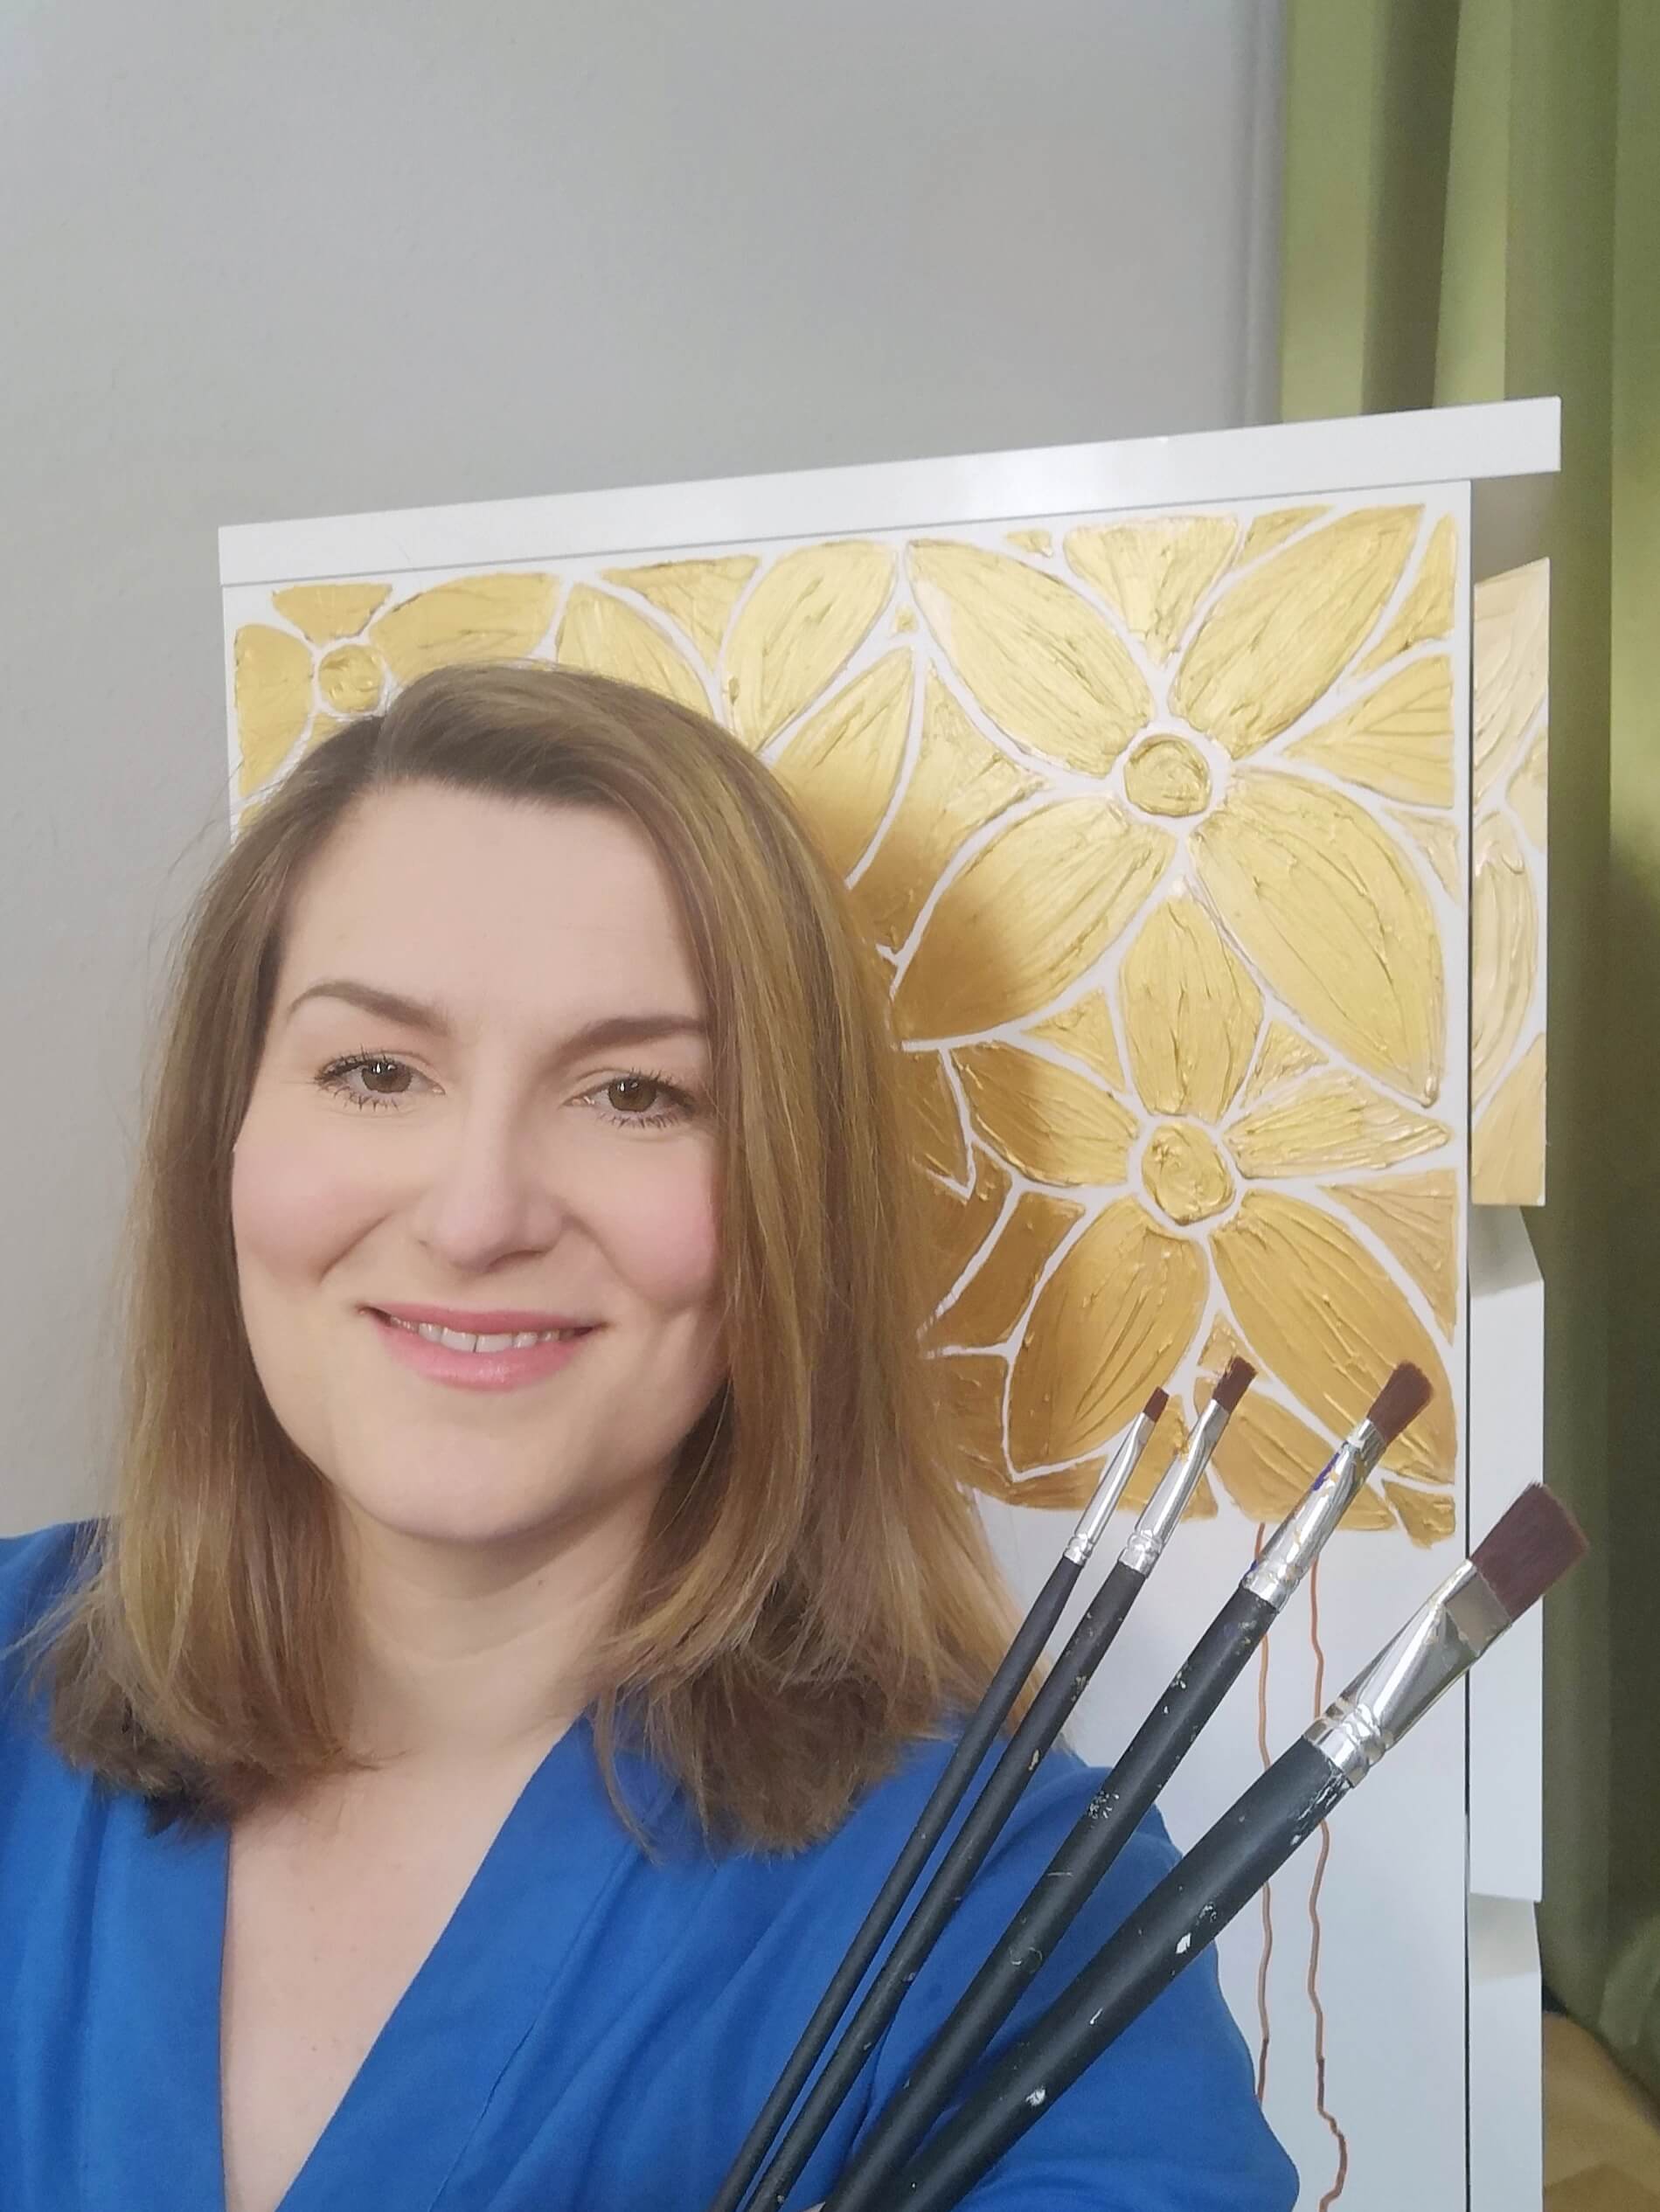
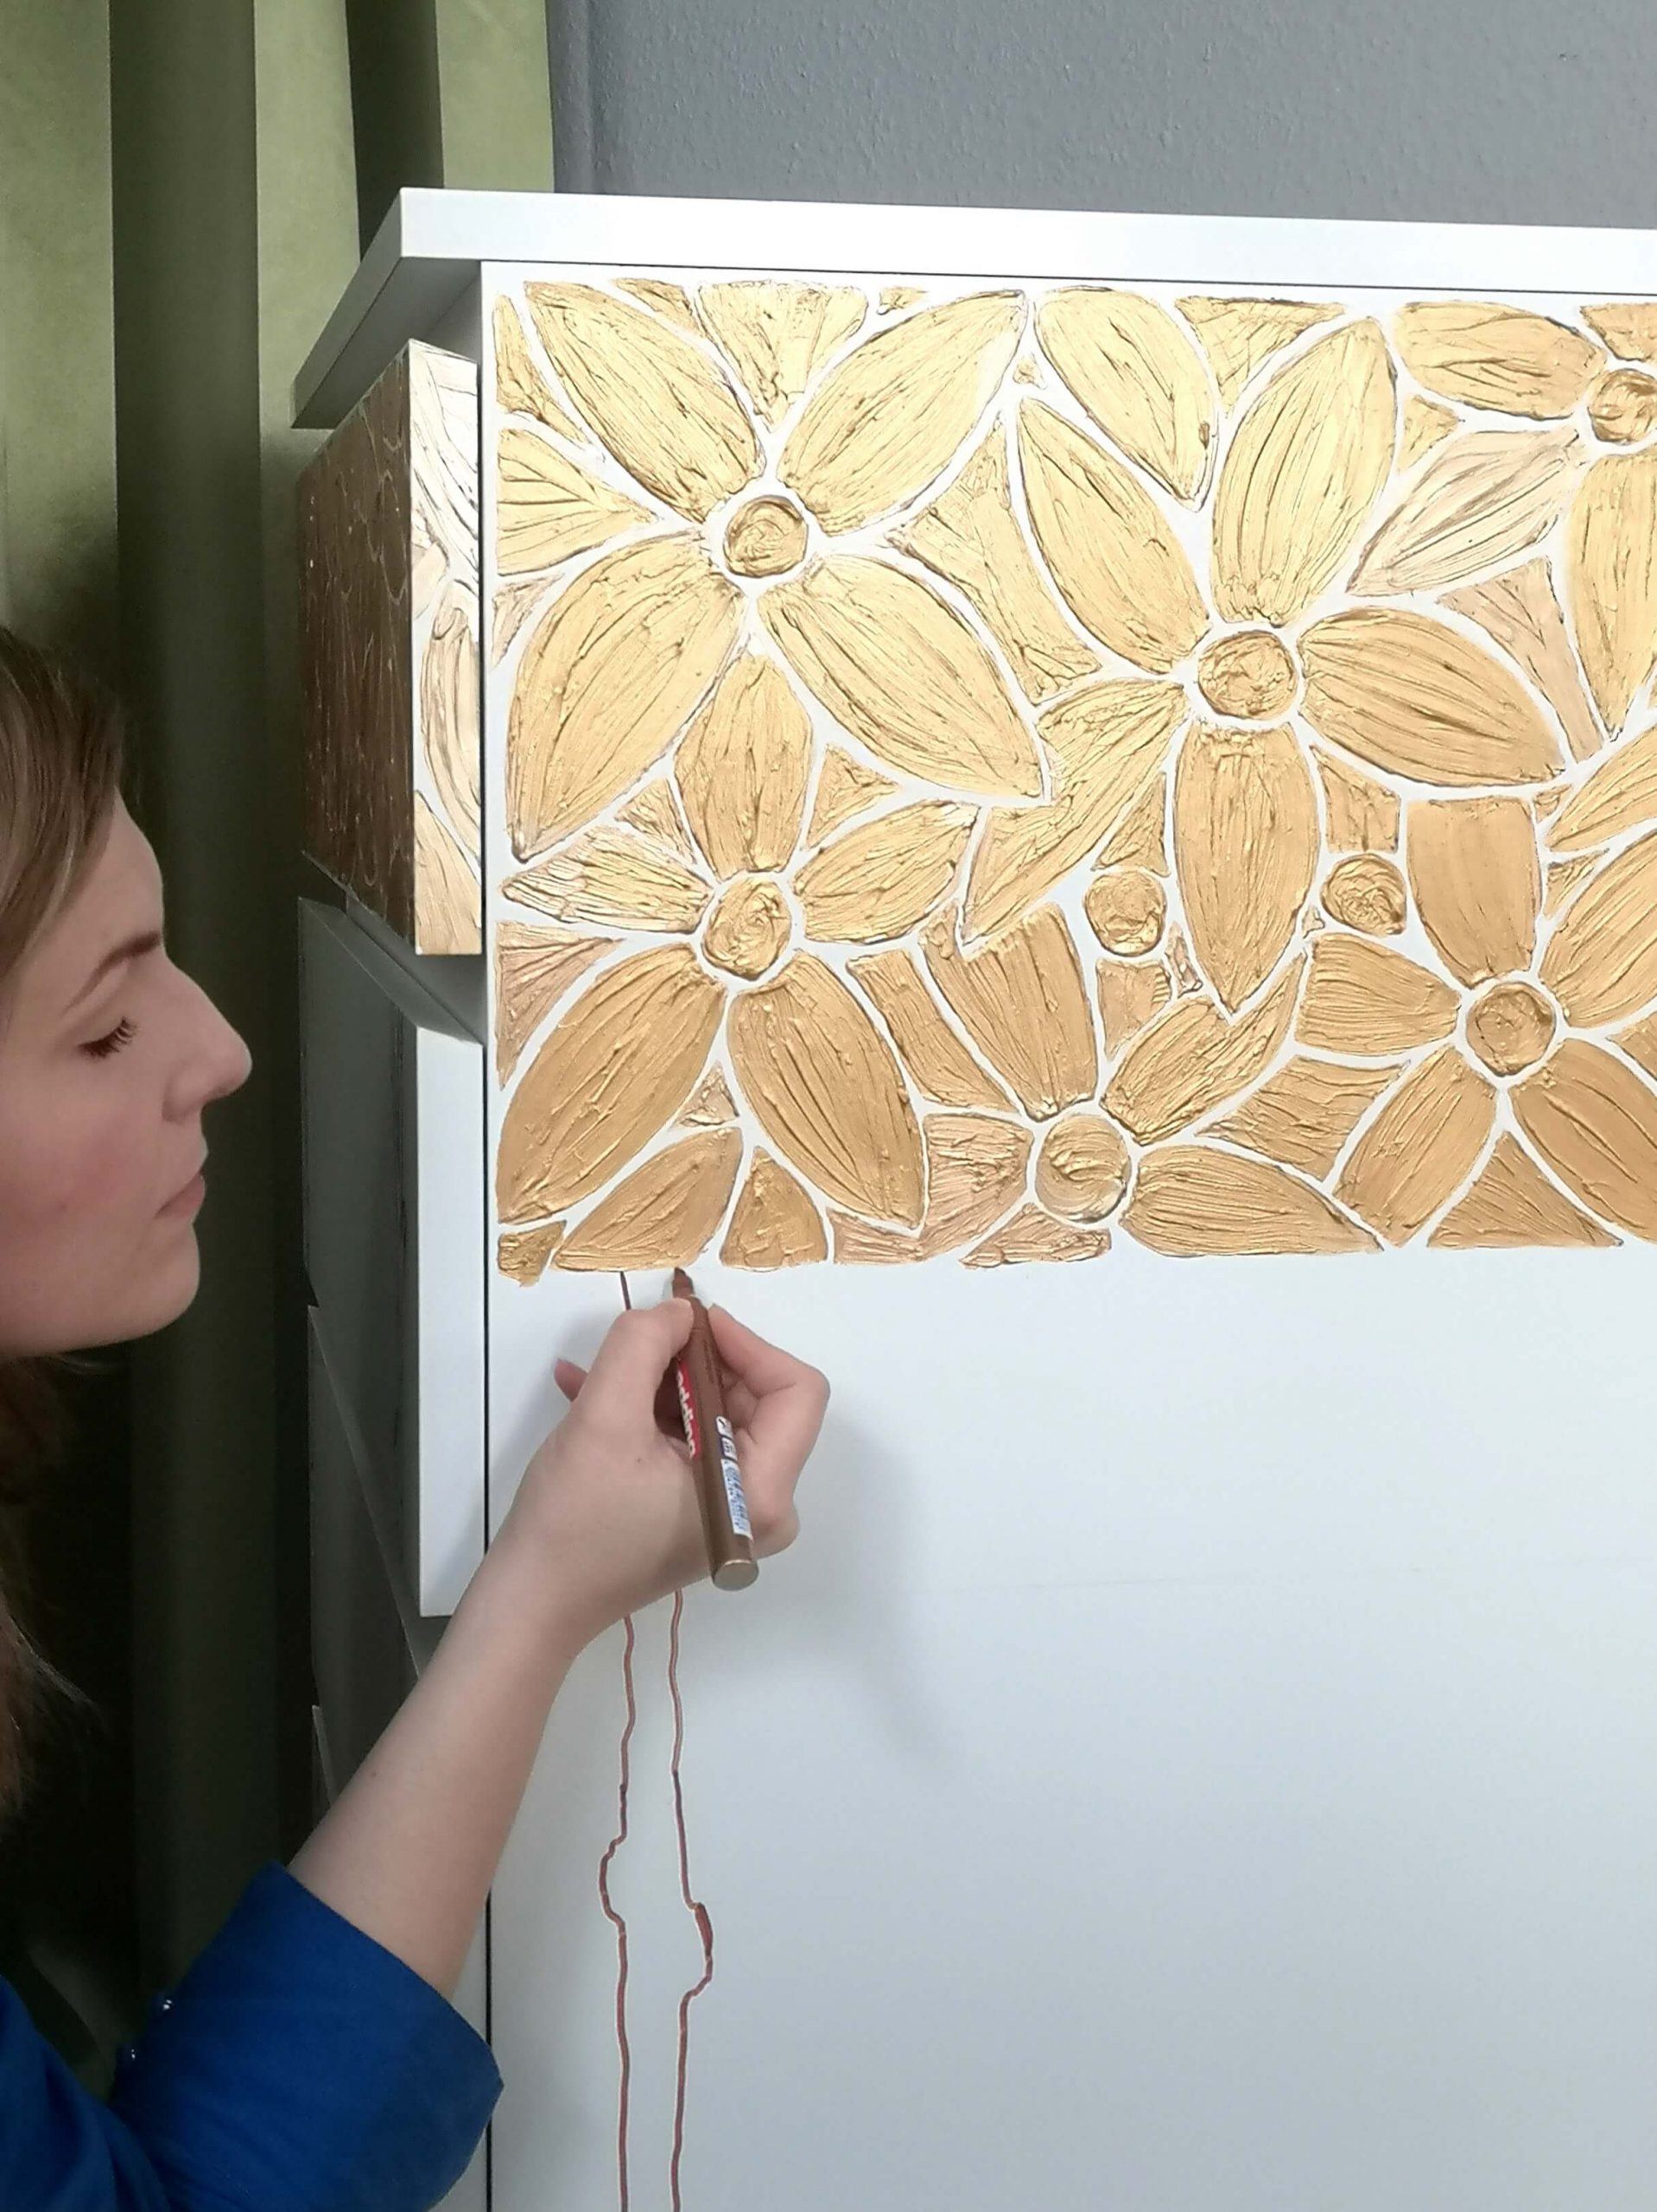
Tricky but rewarding: Hitting the right gold tone! Mixing the right tone takes some time. Most important tip: Really mix a lot of color to have enough. Because: The blossoms need a double layer to look really good – that is, full and three-dimensional. First, practice with the pre-drawn blossoms and paint everything out. And then – either immediately or the next day – apply a second layer and touch up where necessary. Don’t forget: Always put plenty of paint on the brush to get the relief to look nice.
MEDITATE – and try to PERFECT only a little bit
Painting the flowers has something very meditative as I find. But a tip: Do not overdo it with perfectionism! Acrylic paint is a bitch – and you will always find a corner or edge that is not perfect. You can help yourself with a pointed nail file (knife or toothpick will do) to smooth the edges (as long as they dry – ergo within the first two hours after application).
Finally, grab the gold marker and draw the lines of the stems. For those who want to: Feel free to pre-draw the lines in pencil and then apply the marker. At the end: Erase all preliminary drawings – if necessary.


Hello there, I discovered your blog by the use of Google whilst searching for a related subject, your website came up, it seems great.
I have bookmarked it in my google bookmarks.
Hello there, just become alert to your blog via
Google, and found that it is truly informative. I’m gonna be careful for brussels.
I will appreciate if you happen to continue this in future.
Lots of other people might be benefited from your writing.
Cheers!
Hello, i think that i saw you visited my web site so i got here to go back the choose?.I’m attempting
to in finding issues to improve my site!I guess its adequate to make
use of a few of your concepts!!
constantly i used to read smaller articles which as well clear their
motive, and that is also happening with this post which I am reading
now.