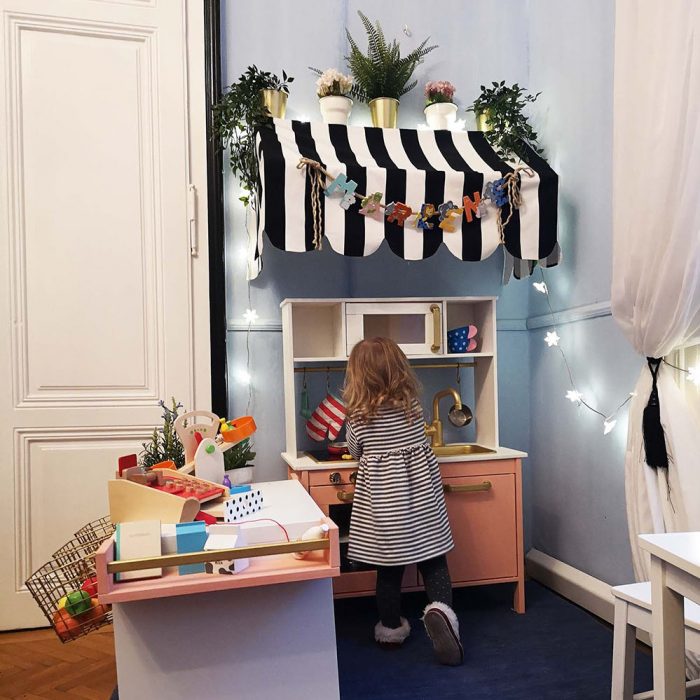
As the DIY lover it was only a matter of time, that I would start upcycling my daughter M’s interior! A what else could I start with than the ultimate Do it yourself challenge for mums than the iconic children’s kitchen called DUKTIG from IKEA?! (see the grand Pinterest feed of ideas here) Of course I needed a bigger challenge than “just” upcycling the kitchen so I added a fancy sales counter.
Orange & white wood varnish (for mixing the perfect color)
transparent varnish spray
golden spray paint
Marquee:
IKEA Sofia fabric (1m)
wooden bars (2,50m narrow, 2,50m ca. 3cm wide)
plastic bars (1m)
4 iron angles (ca. 10cm lang)
Double-sided adhesive tape
14 little screws
Flowerpots & fake plants
Tools:
Crosshead screwdriver
wood saw
scissors
sewing machine
drilling machine
needle & thread
STEP by STEP
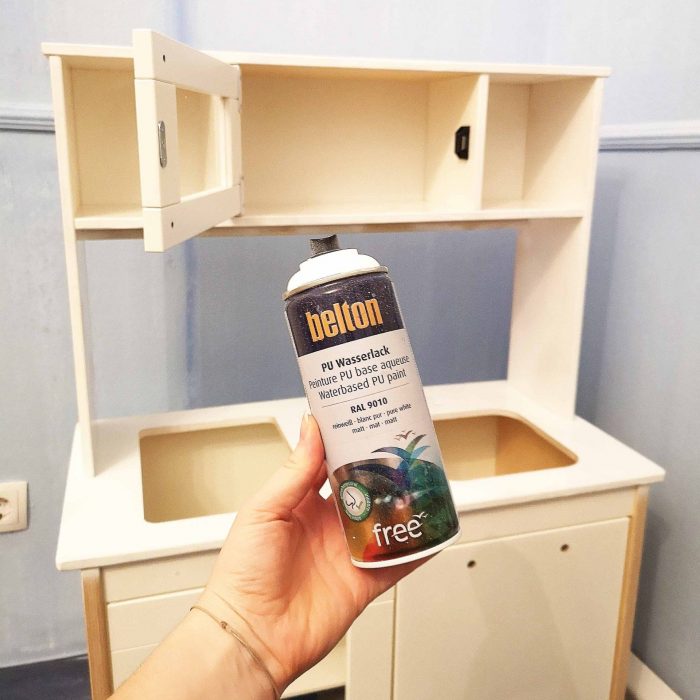
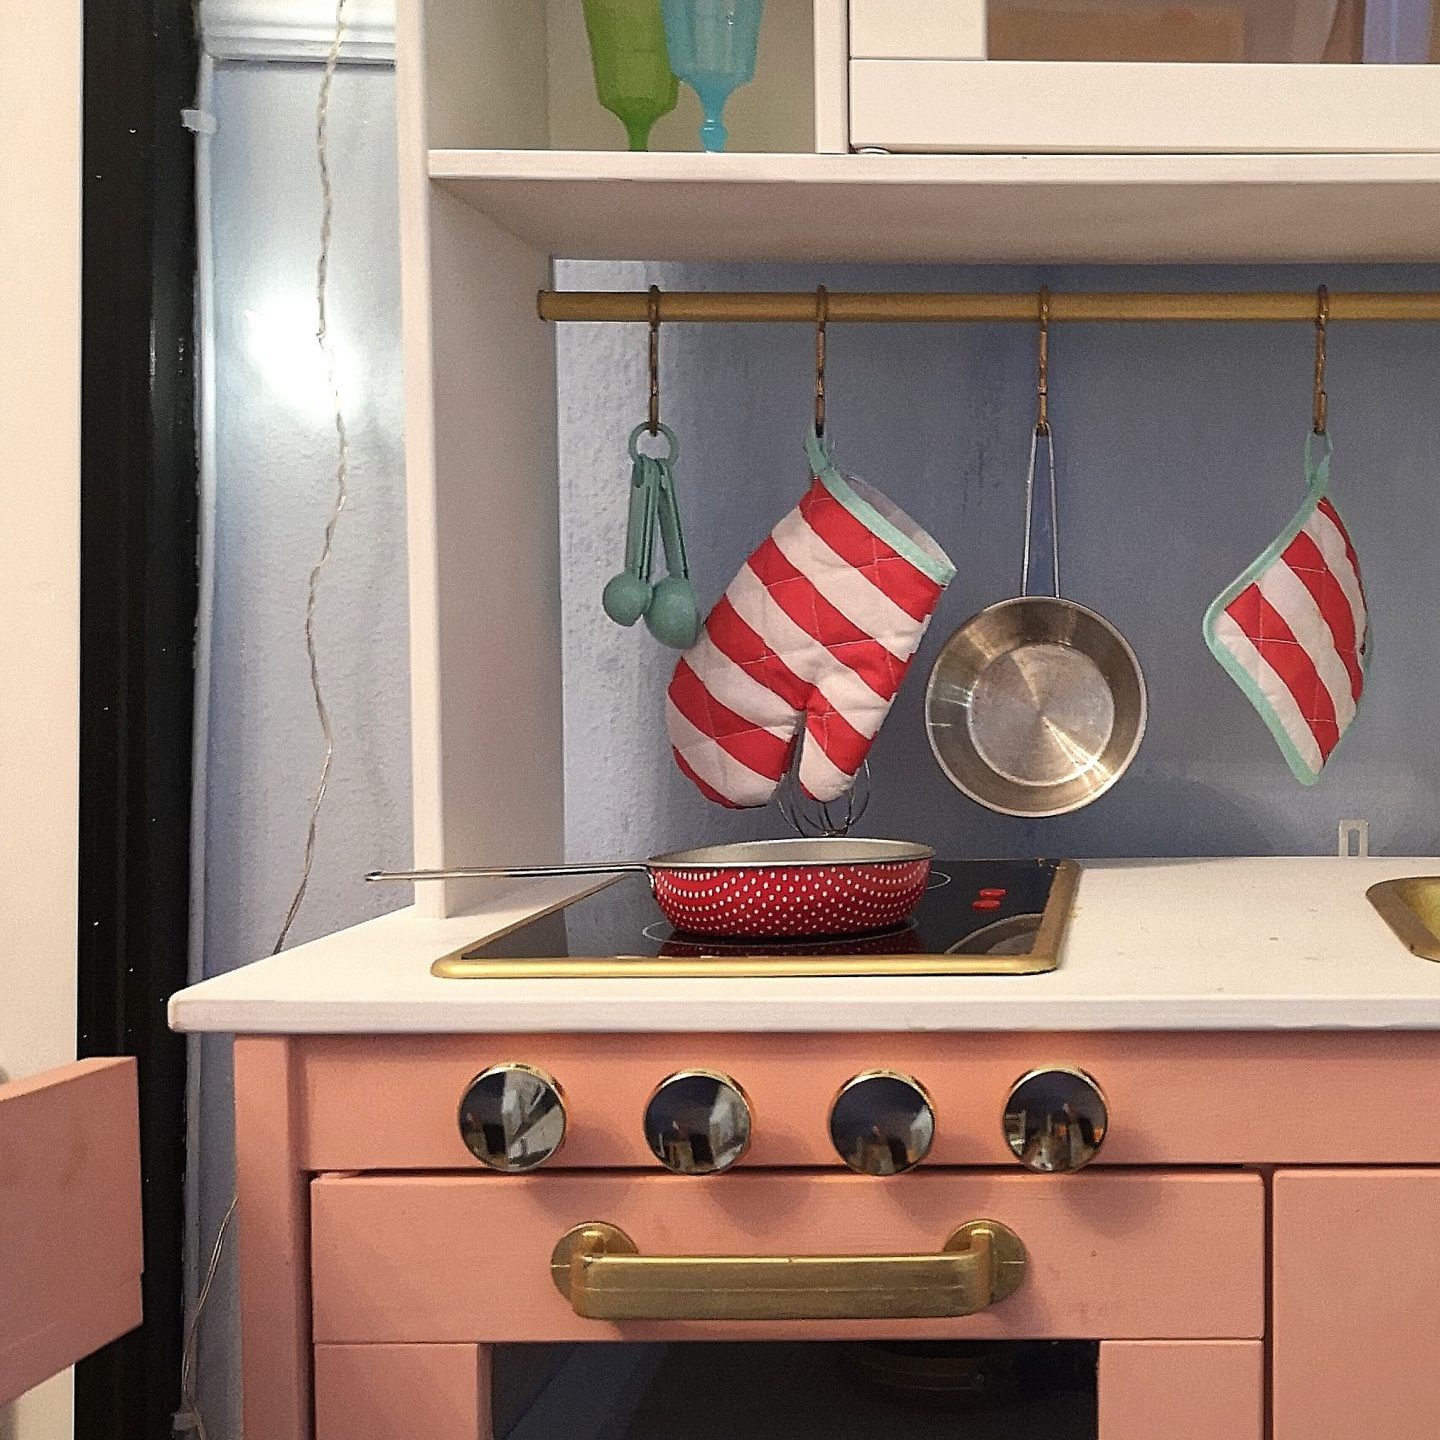
Our kitchen was already assembled – but painting it was no problem (with a steady hand, mind you). If you buy the kitchen new, then it’ll be easier: Just paint piece by piece and only then put everything together. Simply mix the desired color yourself – that’s how the perfect tone comes out. Color and concept are up to you – there are endless possibilities to find on Pinterest. In the end, don’t forget to fix the whole thing with the transparent varnish.
All that glitters is GOLD
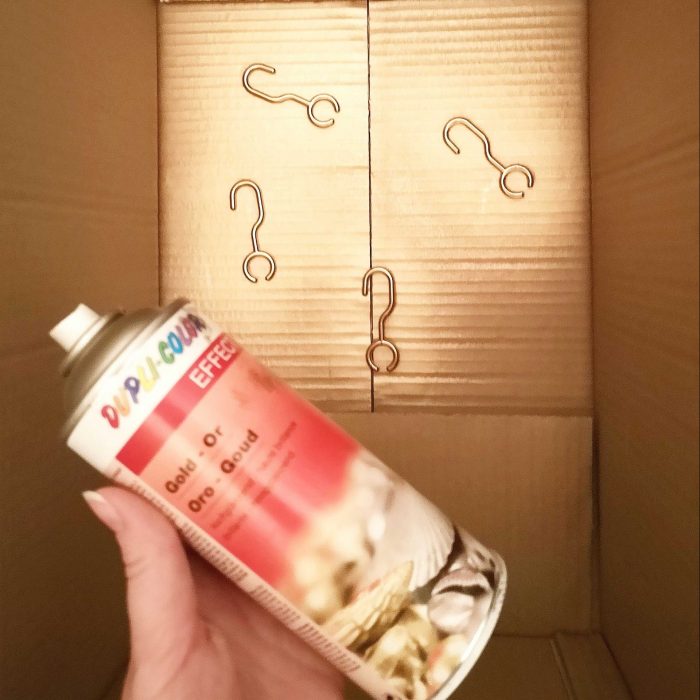
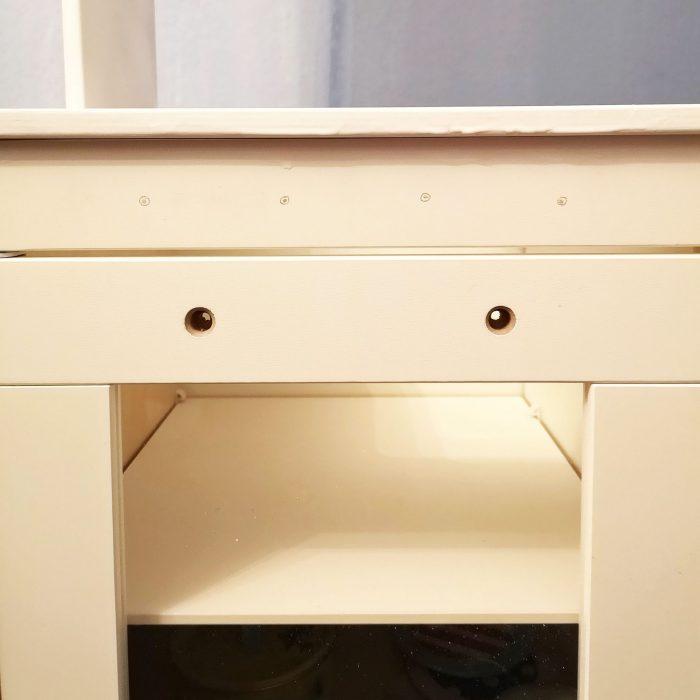
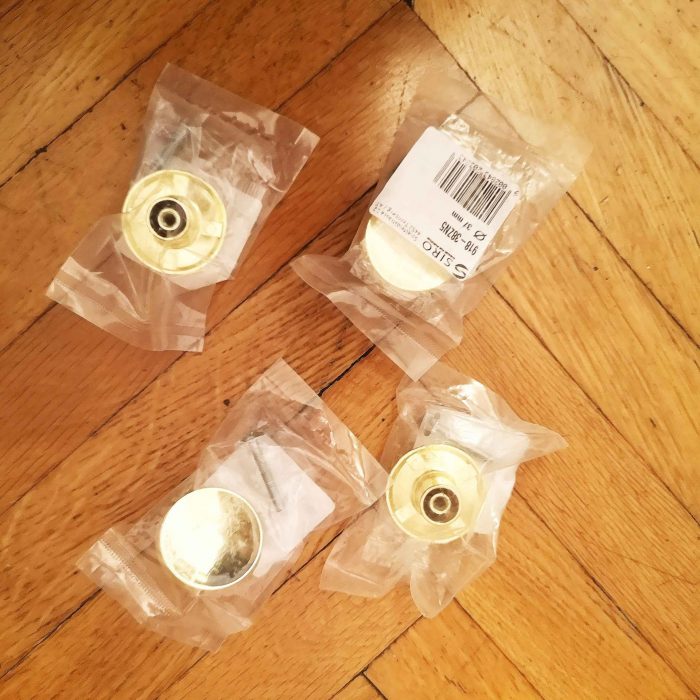
Of course, you have to paint the fittings separately in both cases – preferably with a fast-drying spray paint. Unfortunately, you have to paint them two or three times – because of the handling and because of the gray, quite dark base color. Simply place the individual parts in a large cardboard box and paint them – this way you avoid giving the entire apartment a golden touch. It’s best to paint the strips of the spice racks at the same time or paint them in your color. Then mark the spots for the fake stove knobs, drill small holes and mount the cabinet handles.
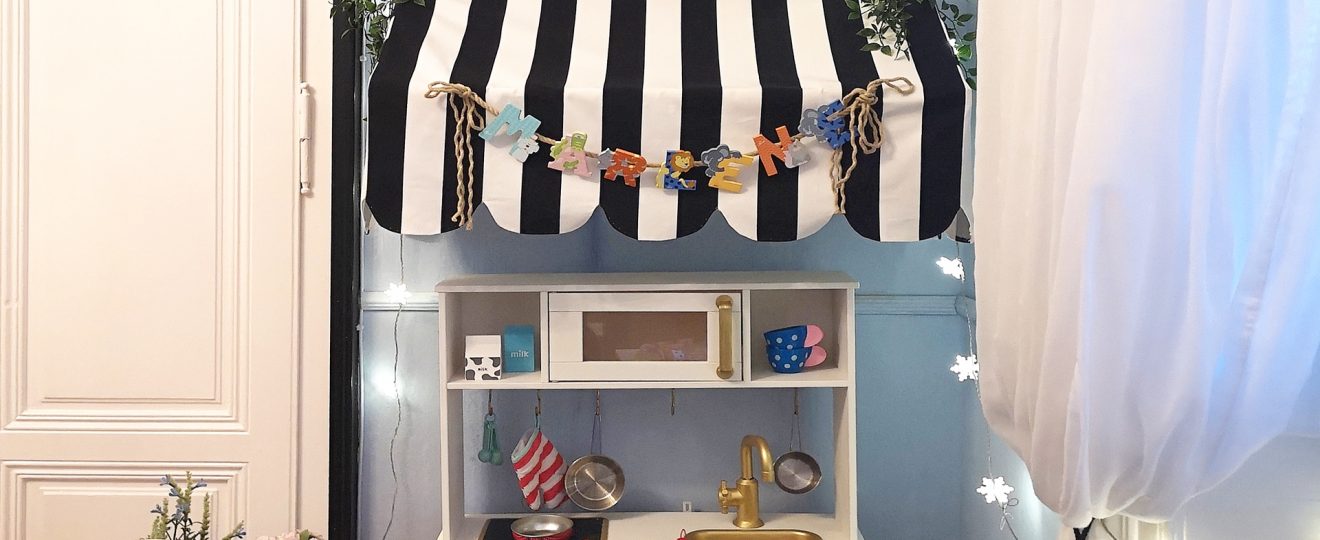
Shopping DELUXE at the sales counter
This is actually very quick and easy to put together! You assemble the Besta shelf and the already painted spice racks according to instructions and mount the wheels. The (previously painted) spice racks you attach by screwing small screws all the way in the edges of the side half – the shelf you simply hang on it. The metal baskets you hang on small, golden metal hooks on the back – I screwed mine in by hand.
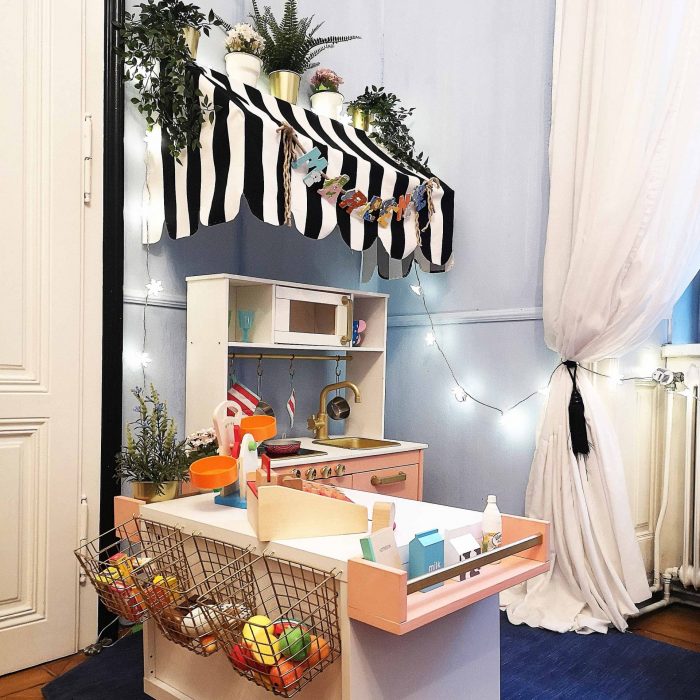
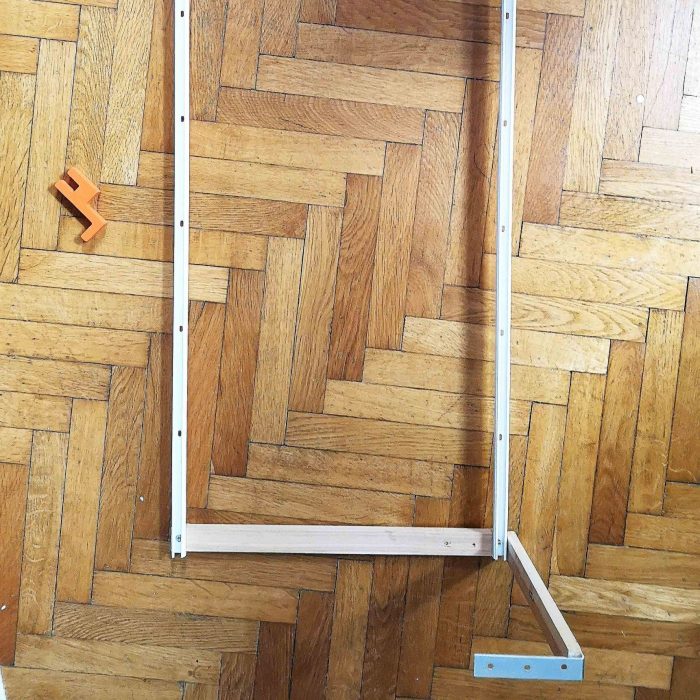
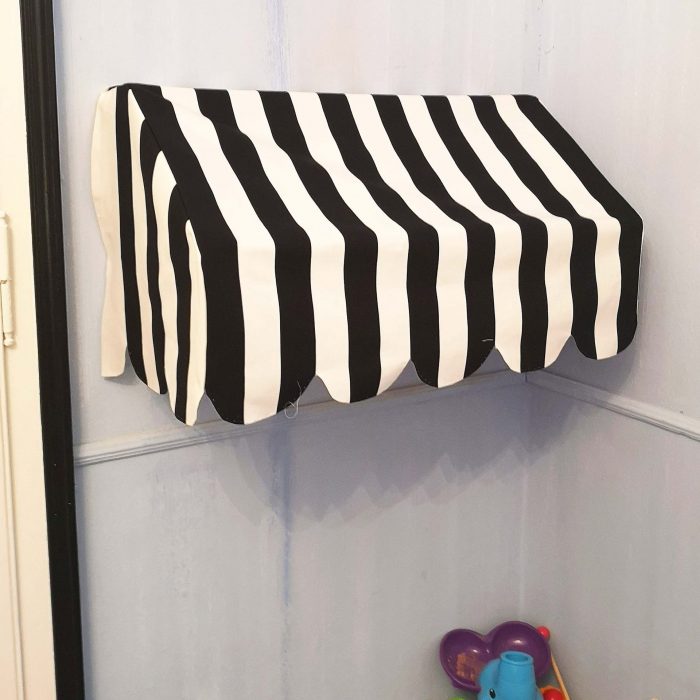
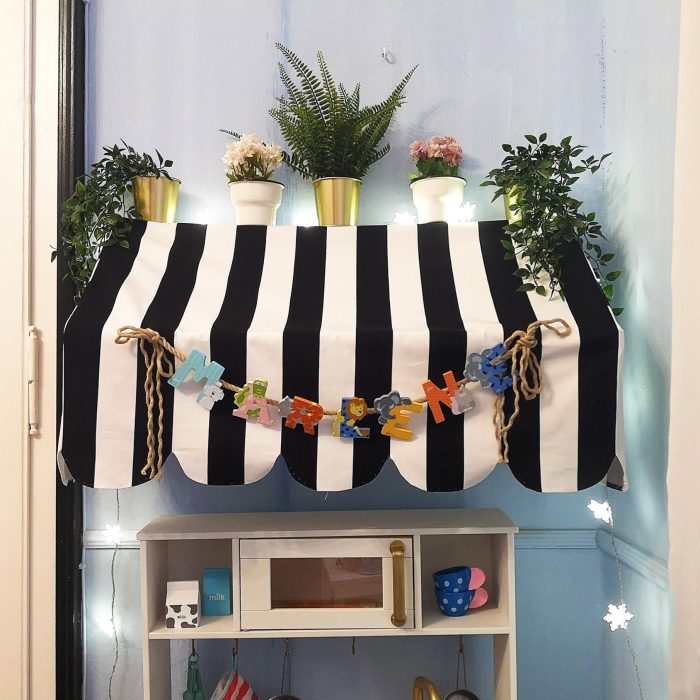
The MARQUEE – IMPROVISATION is KEY
Marlene’s awning has actually been quite a sporty affair. Of course, I could have built a storybook construction – but at the end of the day, it’s a children’s toy accessory that has no weight to carry at all.
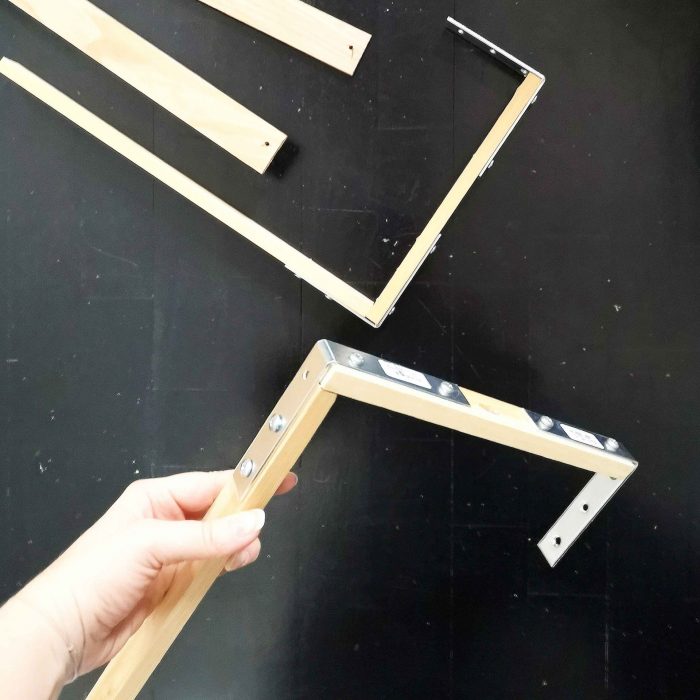
Well, the dimensions in my case are 90cm x 41cm. Partly I cut the strips from wood, partly I used a leftover half cable channel or its holes to screw together. The corners I have additionally fixed with double-sided tape (MacGyver is my #) – on this also holds the fabric quite fabulously and does not slip.
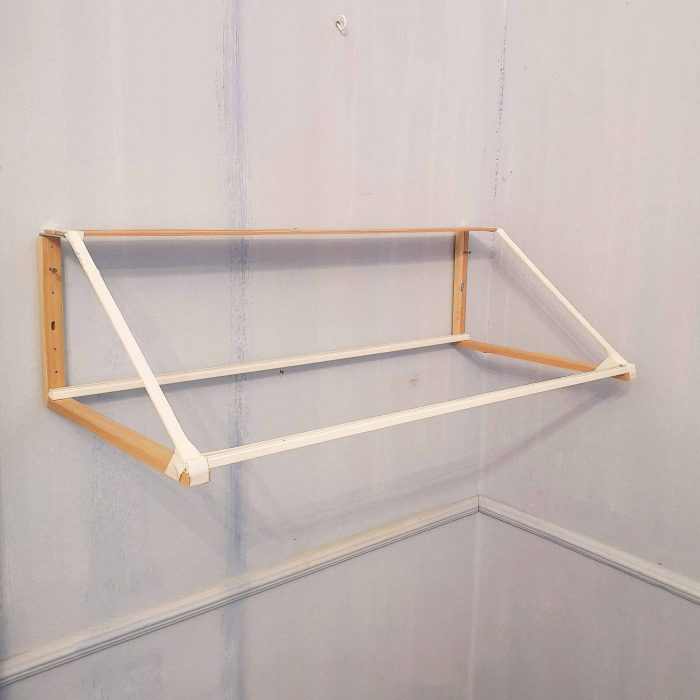
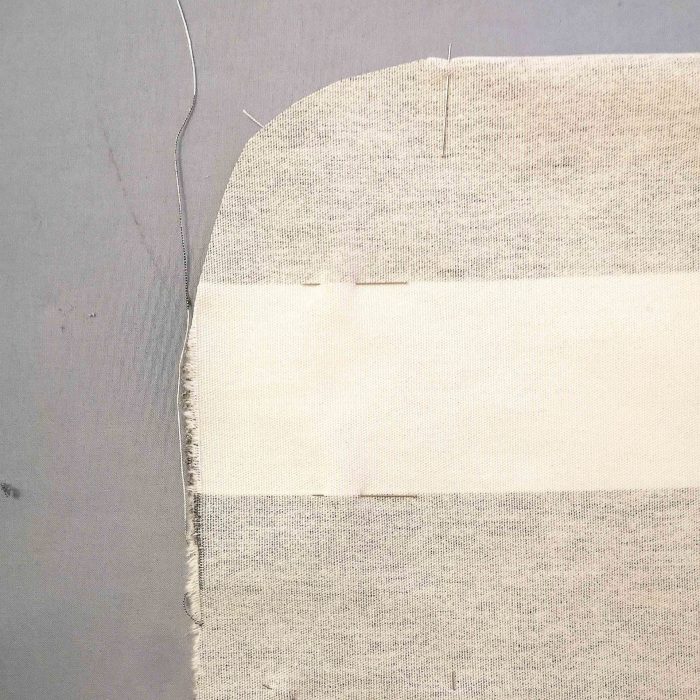
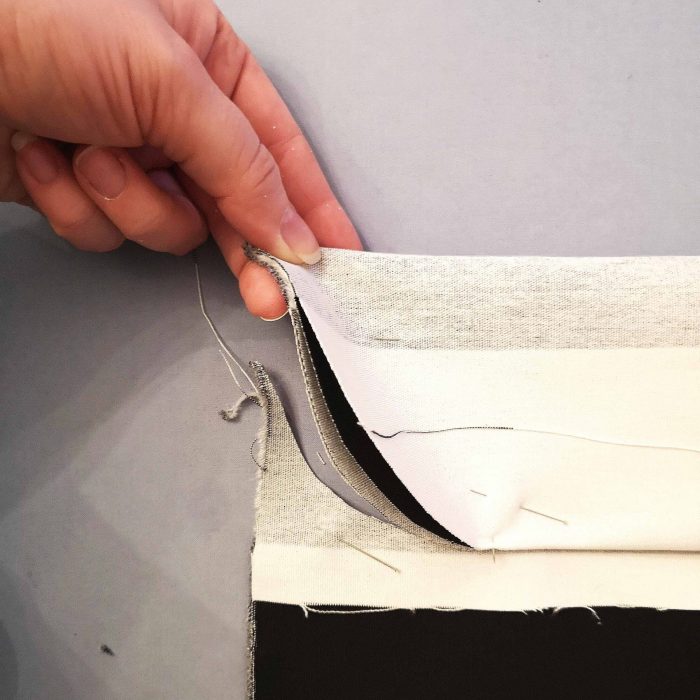
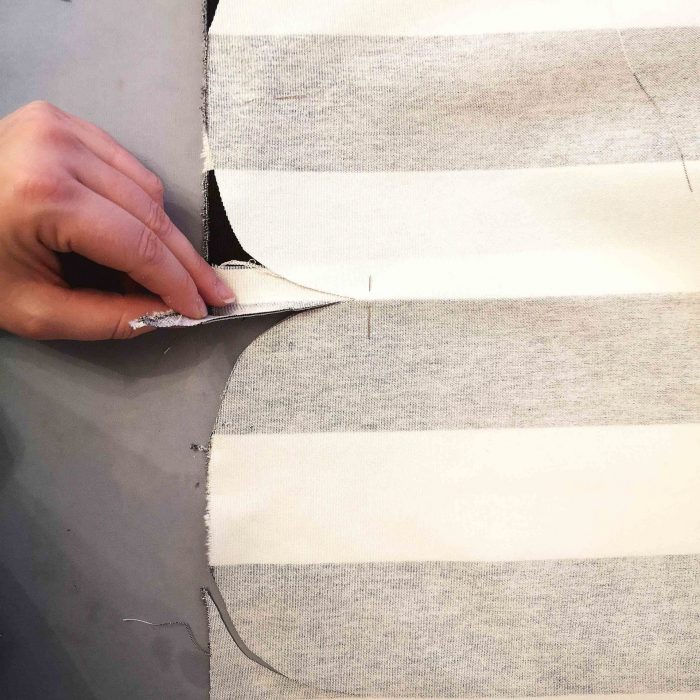
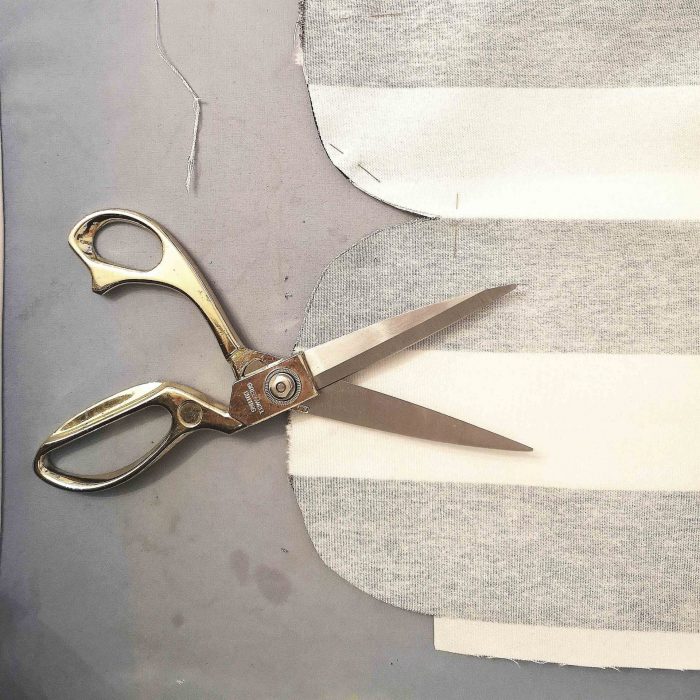
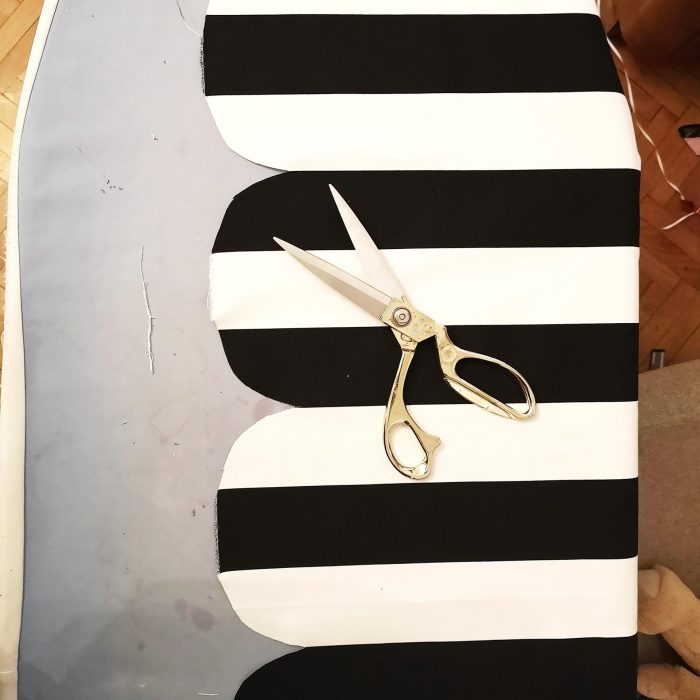
Cut the fabric to the exact dimensions and place it on the construction (sew the sides together, place them upside down on the construction and adjust). The curves of the fabric edge you need to get nice only once – and copy them, using them as a template for all other curves. Sounds complicated – but the photos show quite well how it works. Finally you finish the curves by hand. Then you pull the awning over the construction already mounted on the wall and fix it by pressing the edges well on double-sided tape.
At the end, I mounted the name letters on a small rope and tied them to the wooden strip through small pre-cut holes.
A breeze of GLAM
Several small flower pots and fake plants complete the ensemble and add a touch of Paris!
Et voilà: Your glam DUKTIG kitchen is ready - Have fun cooking, shopping and playing with your little ones and yourselves!
And yes, now we just have to cope with the fact that our little ones now pretty much have a fancier kitchen than we parents ourselves.
This blog uses cookies: We analyze your use of www.madamefaction.com and track your preferences and activities (including Social Media).
Please accept our cookie policy in order to have the best user experience. ACCEPTREJECTREAD MORE
Privacy & Cookies Policy
Privacy Overview
This website uses cookies to improve your experience while you navigate through the website. Out of these, the cookies that are categorized as necessary are stored on your browser as they are essential for the working of basic functionalities of the website. We also use third-party cookies that help us analyze and understand how you use this website. These cookies will be stored in your browser only with your consent. You also have the option to opt-out of these cookies. But opting out of some of these cookies may affect your browsing experience.
Necessary cookies are absolutely essential for the website to function properly. This category only includes cookies that ensures basic functionalities and security features of the website. These cookies do not store any personal information.
Any cookies that may not be particularly necessary for the website to function and is used specifically to collect user personal data via analytics, ads, other embedded contents are termed as non-necessary cookies. It is mandatory to procure user consent prior to running these cookies on your website.