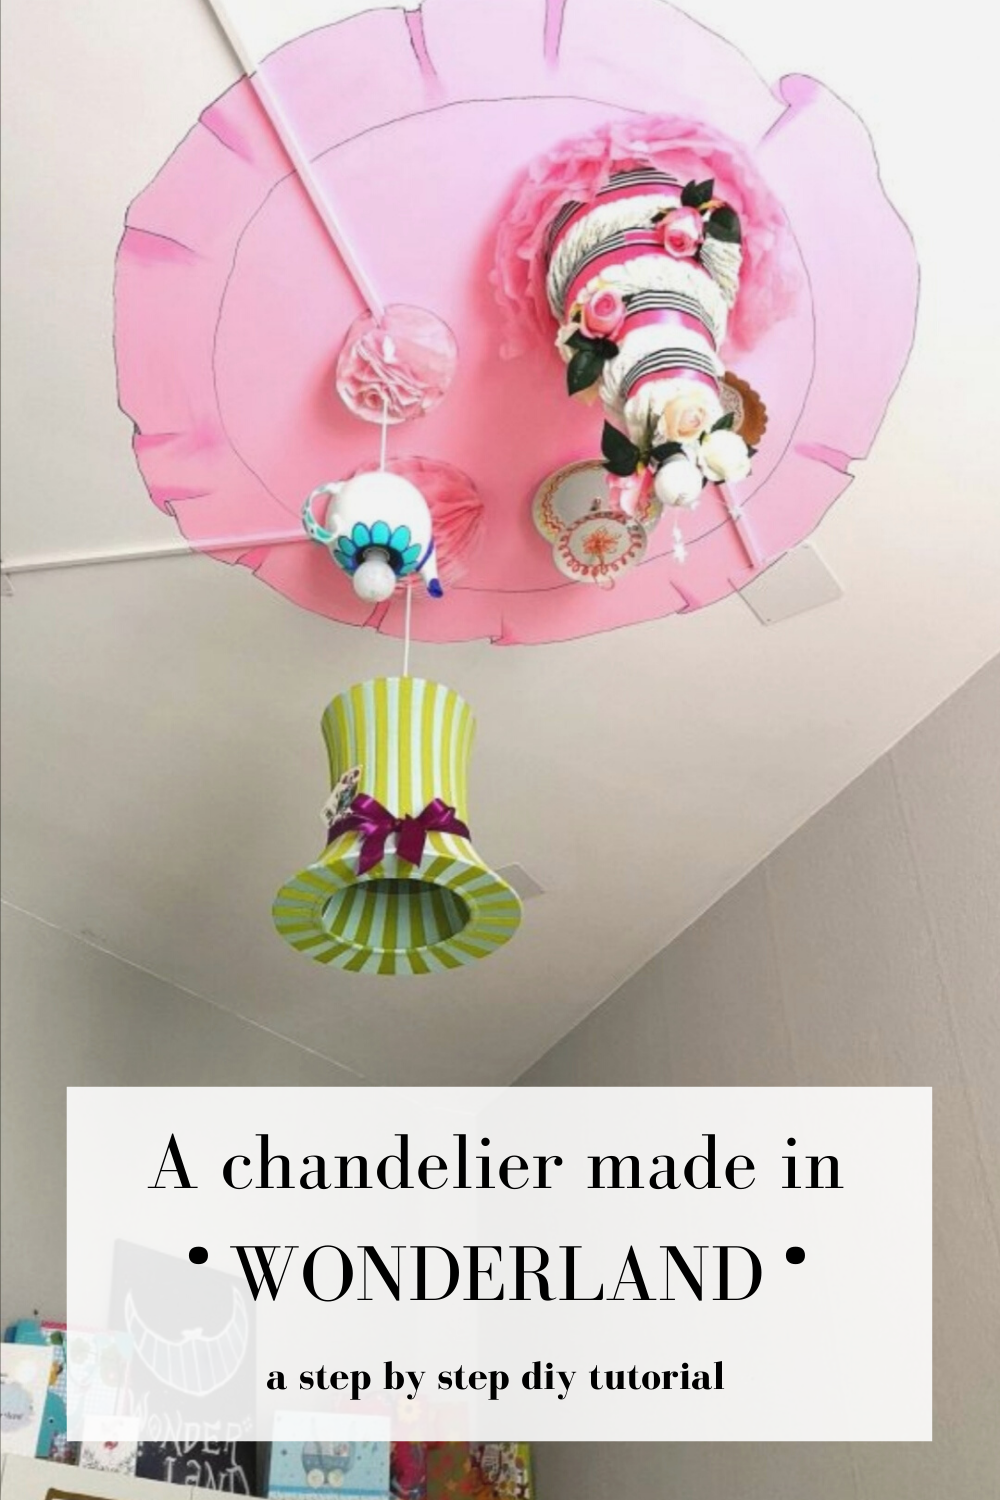
How to create a Chandelier made in WONDERLAND? Well, you’ve gotta know Carol’s story very well! (It is full of FACTION! Or is FACTION full of WONDERLAND? One should never know!) I was planning this project for my daughter’s room for a while, but carried it out literally five minutes before Christmas Eve, since I had a huge respect for working with electricity. Fortunately my father in law found a lot of time and patience to help me. In the end, after eight hours on that scale with his arms up, he just wanted me to serve him a good old Whiskey.
Searching for glam REQUISITES
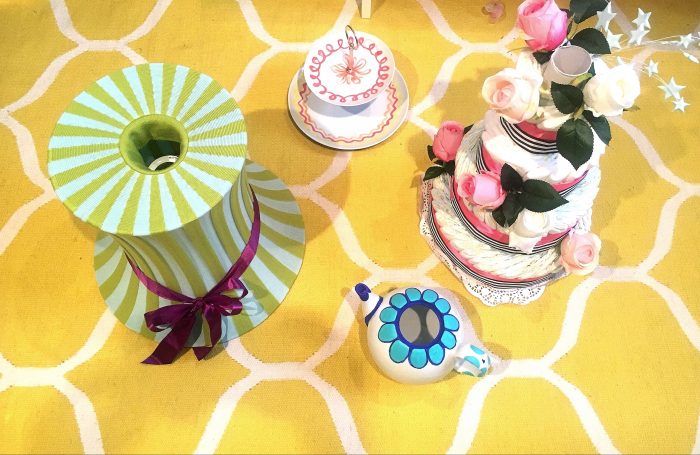
First things first: I conceived the chandelier as the tea party table of the Mad Hatter, so I had been looking for pottery and other matching objects for a while. The main, most glam part is of course the diaper cake: My godmother, the one and only Antonia, threw an incredibly glam baby bash for me and created this upscale diaper cake herself. It is so beautiful I didn’t have the heart to undo it and use the diapers. After some time I realized the chandelier would present the unique opportunity to conserve it!
Looking for TABLEWARE & a MAD HAT
I didn’t find the pottery I imagined for my chandelier so I bought a pretty basic teapot and a cake stand and painted it. Since the pottery was not going to be washed I used basic acrylic paint to apply nice, flashy colored ornaments. I also added the paper plate of the baby bash mentioned above with the M standing for Marlene, my daughter.
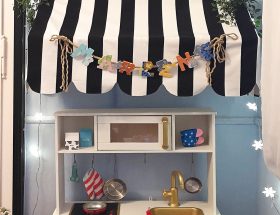
The seemingly most difficult part of the chandelier was the Mad Hatter’s hat, as I thought. Well, no, sometimes life just serves you well: I found the green lamp at IKEA for 5 € or so (Now THAT is a coincidence you’ll hopefully believe really happened to me!). I added a purple satin ribbon and some classic playing cards (sewing & glueing all to the fabric) and that’s it!
PAINTING the base
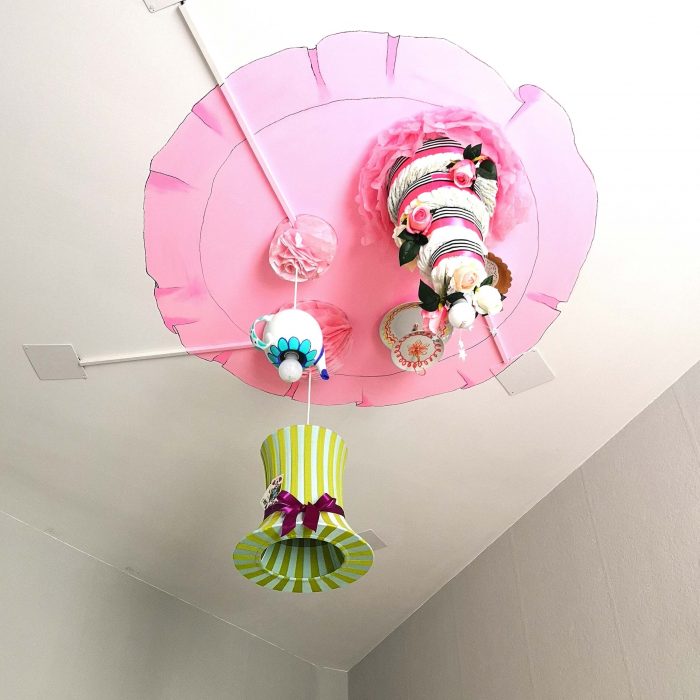
As our chandelier is all about a tea party it of course needed a beautiful tablecloth! I painted a big circle of approximately 1m as a diameter first and then added a „ribbon“ of another 15cm for the 3D illusion. Watch out for the trompe-l’oeil cascades by swiping through the gallery. I used a neon pink mixed with white paint for the circle. For the shades of the falling folds, the pure neon pink was the best (don’t add black here, it will look dirty).
Spots made in WONDERLAND
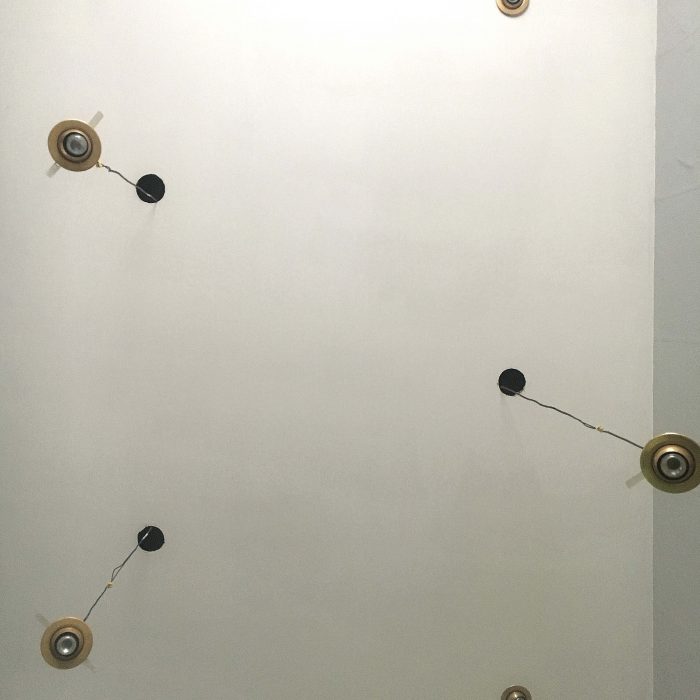
So the lightening was pretty much 90s style at the base. First of all, my father in law and I pulled out the spots in oder to check the cable lengths to then decide the positioning of each part. Then we started putting each object on it’s place.
Fixing ONE BY ONE
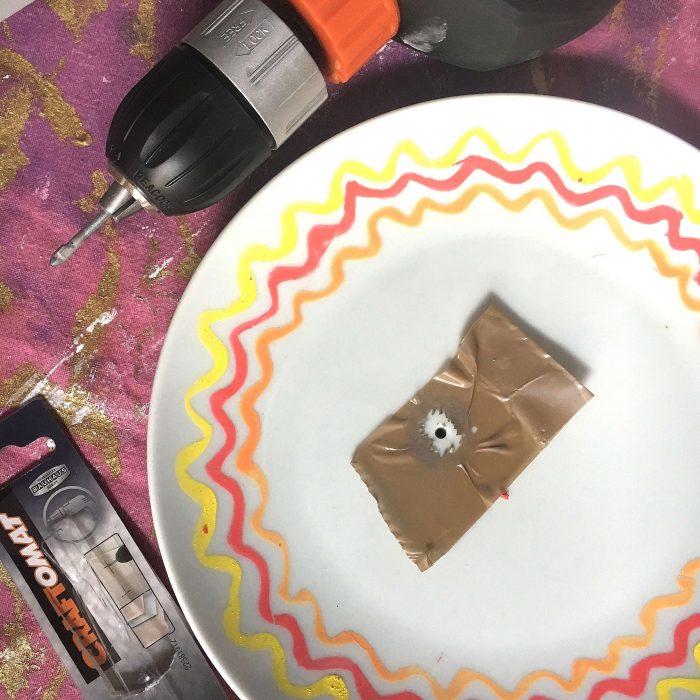
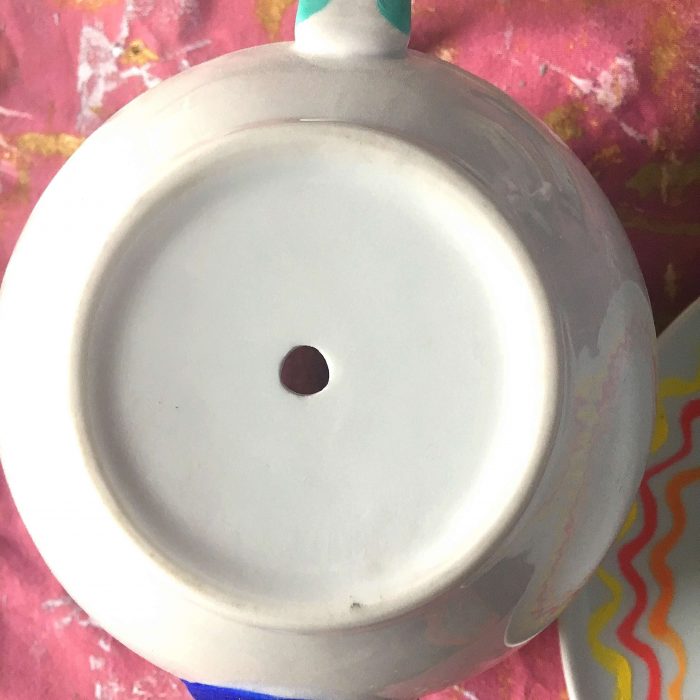
We took care of the teapot first: We drilled a hole in the middle of the bottom with drill towers you use for pottery, ceramics and glass (one would cost approximately 12 € at Vienna’s local hardware stores). Make sure you buy two sizes, since you start drilling with the smaller drill tower and then drill a bigger hole with the next size (your pottery might crack otherwise). We did the same thing with the lowest base of the cake stand, drilling a hole next to the middle (since in the middle you have those sticks keeping all plates together) – swipe the pictures for details on this. The next step was to install the Ikea lamp (with a classic lamp holder including the cable – costs about 5 €) and do the same with another lamp holder by pulling the cable through the teapot. We fixed the cables with white cable ducts on to the ceiling.
The diaper cake CHALLENGE
With a glue gun I glued floor on to floor while in parallel glueing the inner parts of the floors to the base of the towel paper base, Antonia had used for fixing the cake. To understand that process better, just search for Diaper Cake Tutorials on Pinterest and you’ll see it’s pretty easy. We cut a veneered chipboard into the approximate form of the cake’s base (2cm larger than the cake). Then the tricky part began: We drilled four identical holes into the board as well as into the ceiling. Then we glued the cake and tied it up to the board with transparent fishing lines (six at least – see picture in the gallery). Now we screwed the board firmly to the ceiling, using the prepared holes.
A pink FINISH
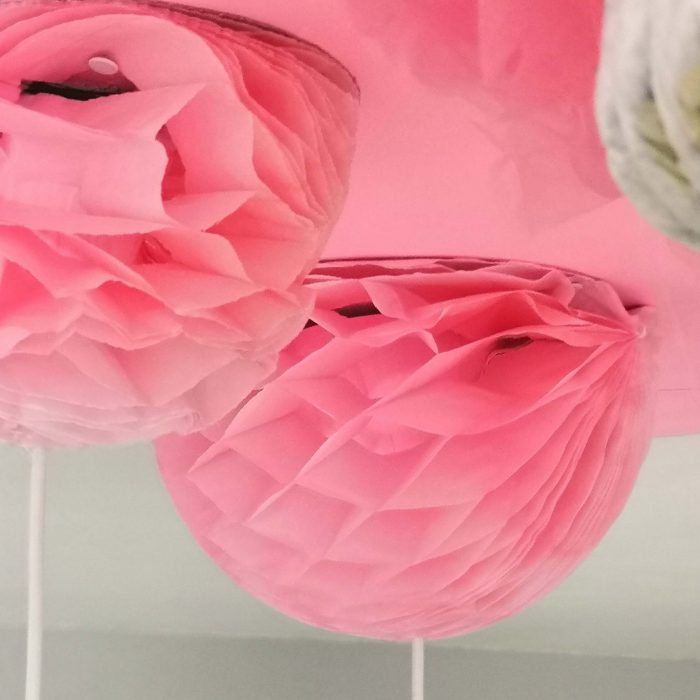
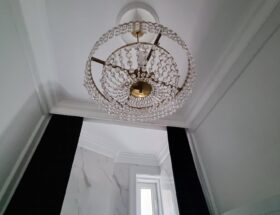
In the end I painted the diaper cake board with the pink color used for the tablecloth and added some pink silk paper around the cake. I painted all the cables in pink and added some honeycomb balls – you simply cut half a circle of the Honeycomb Balls in order to make space for the cable covering and pin it to the ceiling with simple inboard pins (see detail pictures in the gallery).
And this is it! 50€, 2 days and modest 900 words later your chandelier made in WONDERLAND is ready to rumble your child's fairy tale room! Enjoy!
If you have any questions don't hesitate to leave a comment and share your own versions of my project.
This blog uses cookies: We analyze your use of www.madamefaction.com and track your preferences and activities (including Social Media).
Please accept our cookie policy in order to have the best user experience. ACCEPTREJECTREAD MORE
Privacy & Cookies Policy
Privacy Overview
This website uses cookies to improve your experience while you navigate through the website. Out of these, the cookies that are categorized as necessary are stored on your browser as they are essential for the working of basic functionalities of the website. We also use third-party cookies that help us analyze and understand how you use this website. These cookies will be stored in your browser only with your consent. You also have the option to opt-out of these cookies. But opting out of some of these cookies may affect your browsing experience.
Necessary cookies are absolutely essential for the website to function properly. This category only includes cookies that ensures basic functionalities and security features of the website. These cookies do not store any personal information.
Any cookies that may not be particularly necessary for the website to function and is used specifically to collect user personal data via analytics, ads, other embedded contents are termed as non-necessary cookies. It is mandatory to procure user consent prior to running these cookies on your website.